Hello and welcome to our new workshop section. Each month we’ll be getting down and dirty, ticking off the servicing jobs you want to know about in a step-by-step manner.
1 Take a good look
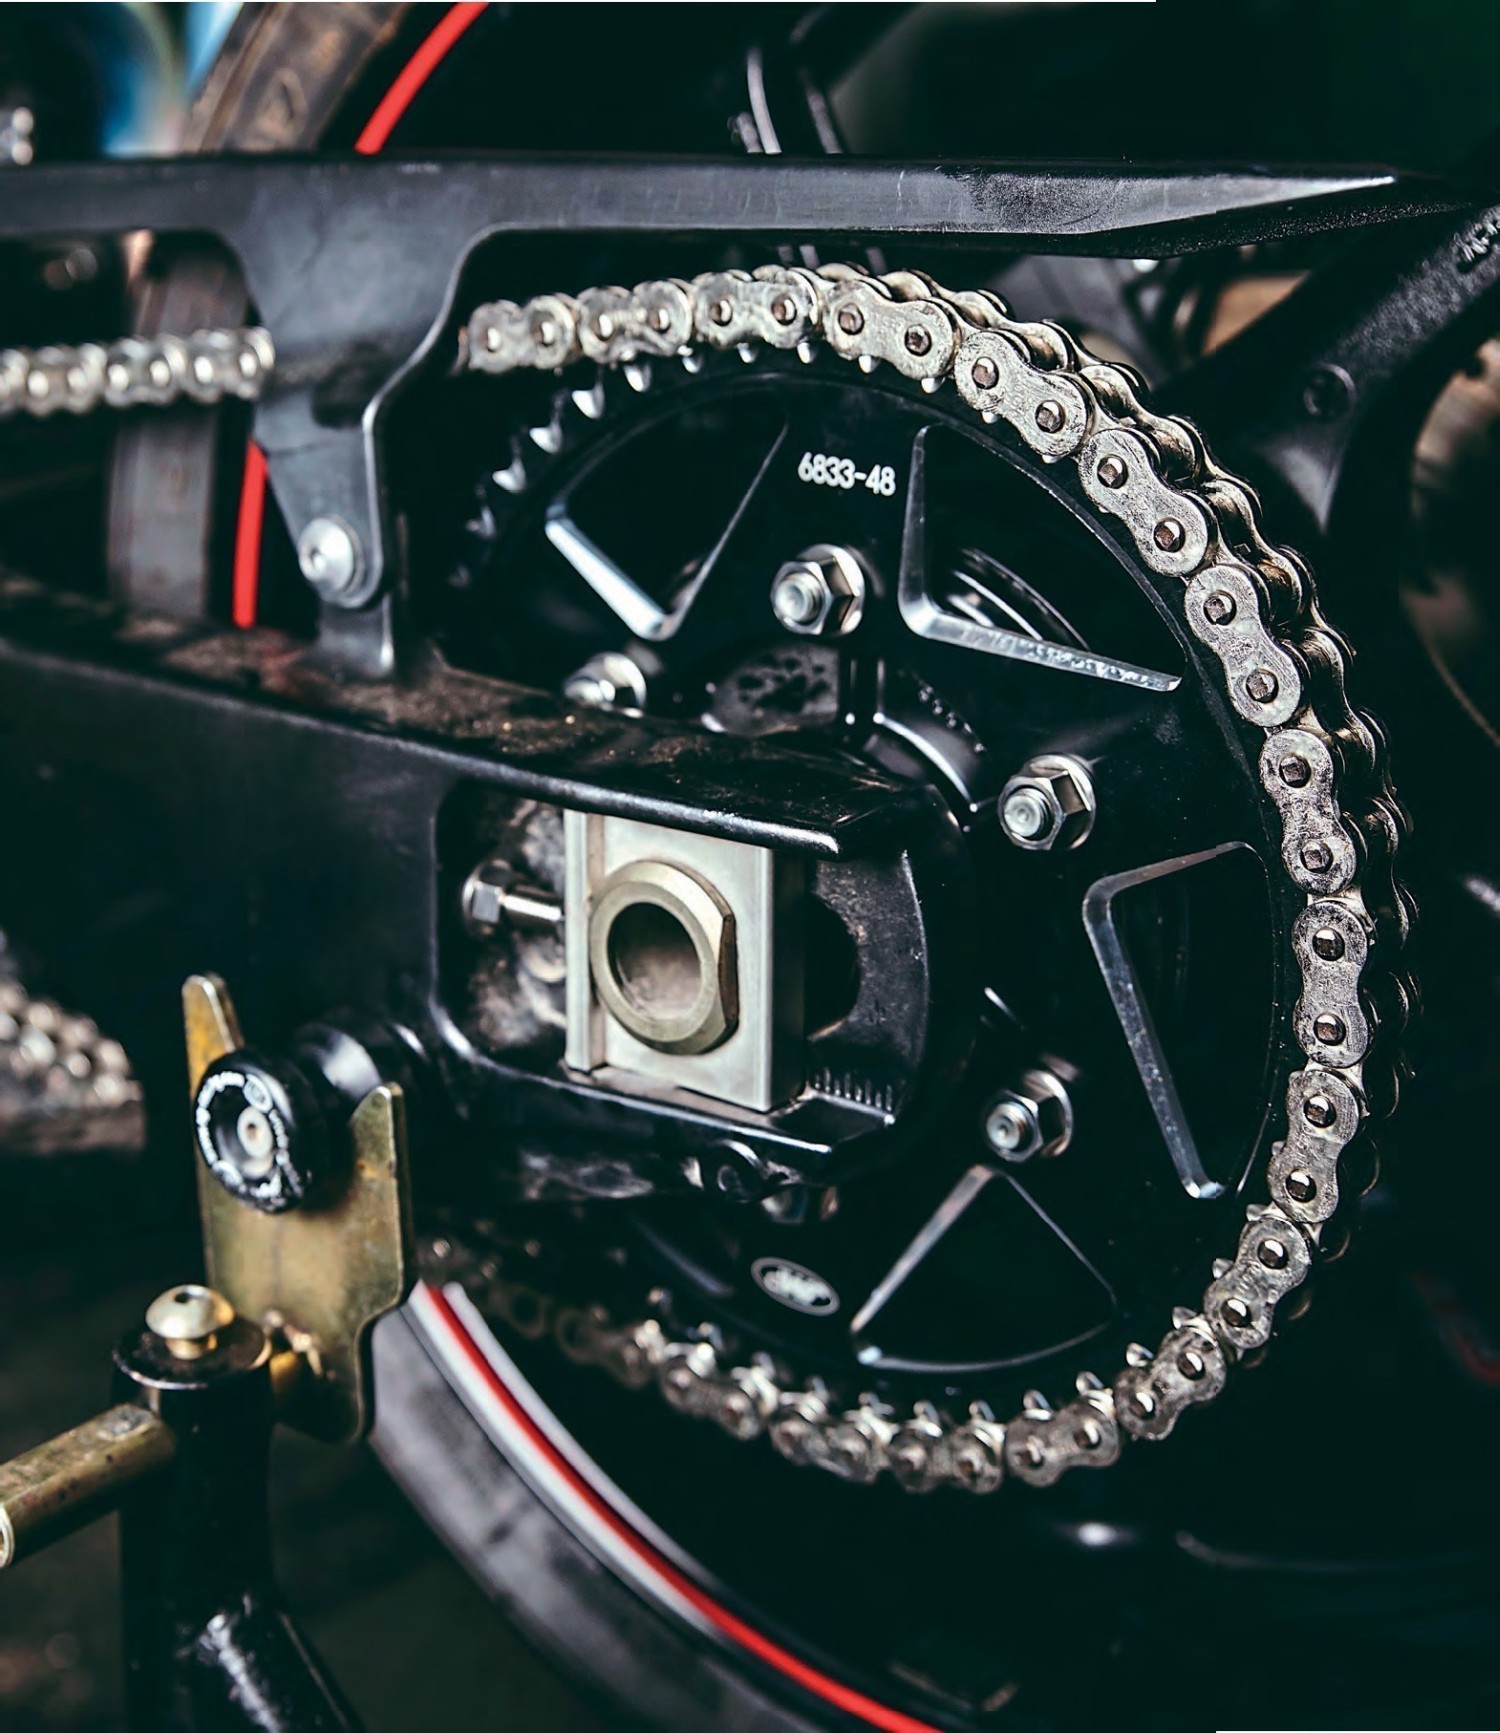
Just like any service-focused job, you should always kick things off with a good inspection of your bike and the components you’re set to work with. In this instance, when changing a chain and/or sprockets, it’s always wise to get your rear wheel off the ground by means of a paddock stand – without one you really will struggle. With the rear wheel off the ground, you’ll be able to spin the wheel 360° giving you an essential overview of your sprockets and, with enough turns, the entirety of the chain. But what exactly are you looking for? As far as the sprockets go, it’s a simple case of wear. When a bike’s accelerating it forces the chain’s roller into the recess of a sprocket and eventually wears away its teeth, typically on their rear face. If the sprockets are too worn, the chain is prone to jumping free of the sprocket which can be a pretty big problem for all manner of reasons. So you’re looking to see if the sprocket teeth are hooked, or asymmetrical, which would suggest it’s time to dip your hand in your wallet and get some new ones ordered. As for the chain, the biggest indicator of wear is the guides on the swingarm. If the chain has been adjusted so many times that the spindle is nearly all the way back in the spindle recess, it’s fair to say you’ve had your money’s worth. But you should also check a chain for tight spots, which is done by spinning the wheel with one hand and checking the tension of the chain with the other. Put your hand underneath it, where possible, and lift the chain upwards throughout its entire length; you’re looking for a consistent rise at all times. If the chain rises higher or won’t go high enough, that suggests you’ve got a tight spot and the chain’s not fit for purpose.