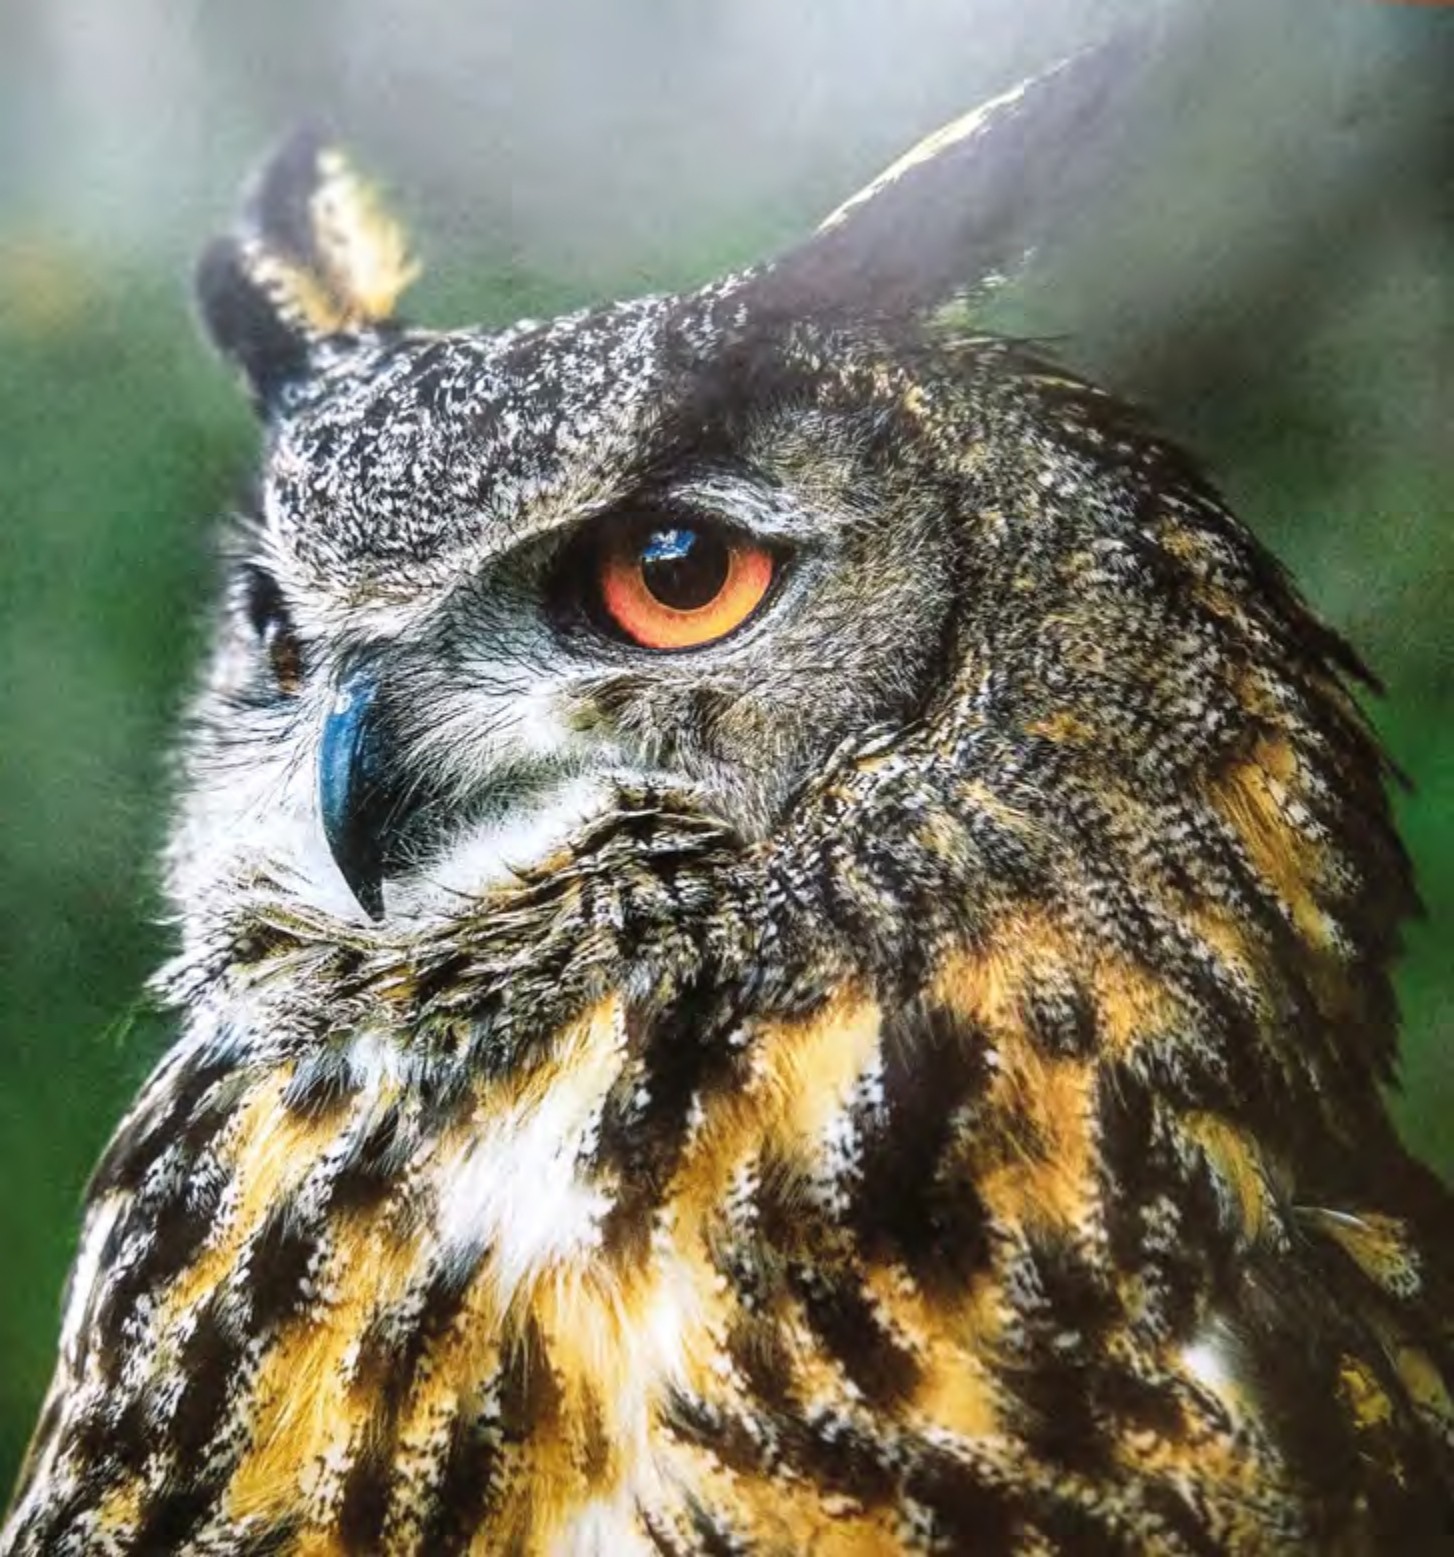
The reference photograph that introduced the project last month: an eagle owl t The initial sketch of the bird (see last month for details)
Having completed an accurate rendition of the eagle owl’s head last month (see sketch, below) from our reference photo (right), the next stage is to take a long look at the colours on the bird, and to look at the colours as shapes. When mixing your colours for the initial washes, always mix a larger puddle than you think you will need; this enables you to apply and reapply the washes before the paint dries. For the first layer of washes I used raw and burnt sienna, raw and burnt umber and lamp black.
Looking at the original image my first thought was: how can I simplify it? It can be easy to be overwhelmed looking at all that detail. Try looking through scrunched up eyes. By doing this it blurs the image and some of the detail is lost. I took a mental picture of the overall effect and started thinking of how to achieve the soft feathery look while still maintaining an impression of the amazing detailed feathers that this owl has.