HOUDINI
CREATE A PROCEDURAL STROKE IN SIDEFX HOUDINI
Discover the pro method behind the paint stroke elements from our special 300th issue cover
Practical tips and tutorials from pro artists to improve your CG skills
AUTHOR
Bastian J. Schiffer
Bastian is an art director and digital creative from Germany, driven to create engaging visual content. With a range of interests from motion design and branding to creative coding, he has worked on a wide variety of commercial projects for international clients. He also loves to teach and share his knowledge. www.prdx.de
DOWNLOAD YOUR RESOURCES
For all the assets you need go to https://bit.ly/3dworld-300
In this beginner-level tutorial, you’ll learn how to create the paint stroke elements that make up the hero typography of this issue’s cover image. Modelling the base element using scattering and various VDB operations, we’ll then deform this base element using Houdini’s powerful Path Deform SOP to bring the strokes into the dynamic shapes we need to create our design.
Along the way, you’ll also learn how to create two custom tools using a little VEX, which may even get you hooked on coding! We’ll create dynamic groups, employ procedural and manual placement techniques, look at various ways to create randomness, and also add in some colour controls on scene level, so you don’t have to jump into the various geometry objects to make colour changes during art directing.
We’ll end up with a flexible setup that you can vary by using different input curves, and gives you a great head start on your journey to learning Houdini!
01a

01b
01 CREATEA A
GEOMETRY NODE
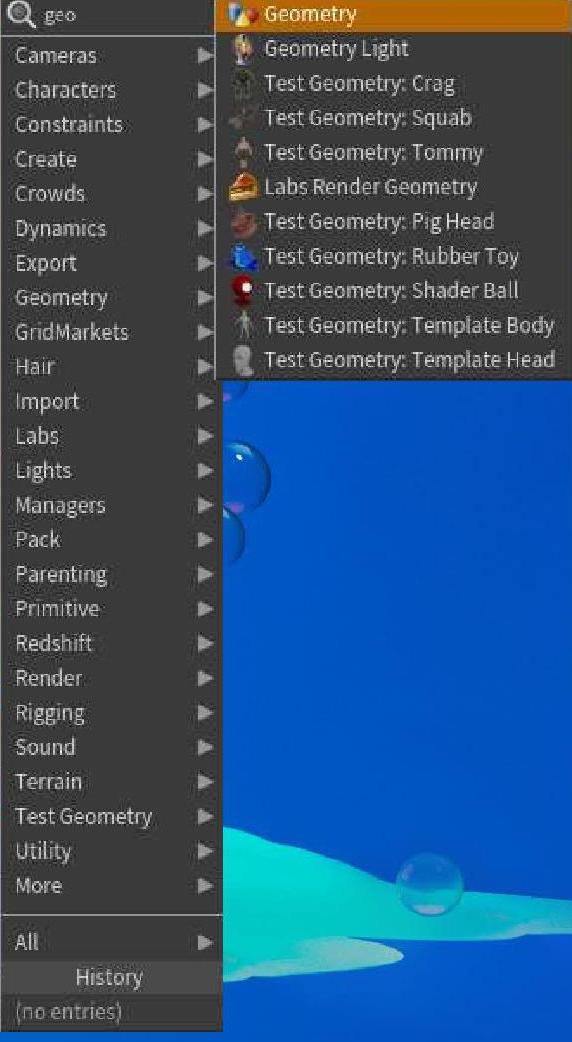
To get started, press the Tab key over the Network view and create a Geometry node, which will contain the base element that we’ll deform later on. Click on the name of the node and rename it to something descriptive like ‘geo_paint_stroke’.
02
MAKE AND MODIFY
A SPHERE
Using the Tab key, create a sphere that will be our base shape. Change the Primitive Type to Polygon and the Frequency to around 6 so the sphere is a bit more subdivided. Now change the Uniform Scale parameter of the sphere to 0.5 and the Z-component of the Radius parameter to 5.
03a
03b
03
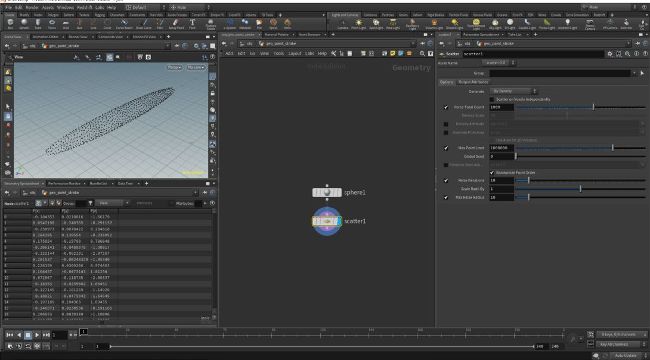
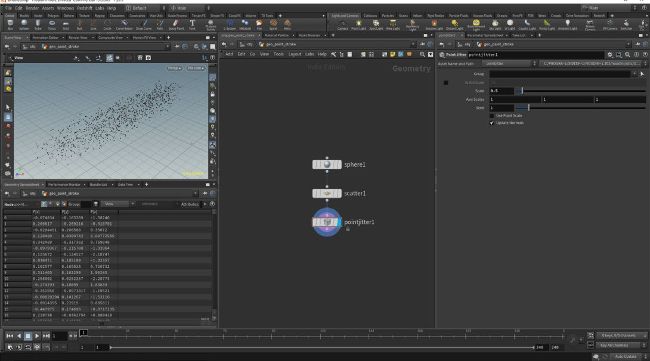
ADD SCATTER AND
POINT JITTER NODES
Next, add a Scatter SOP after the sphere to scatter some points on its surface. The default value of 1000 for the total count is fine for now, but you can adjust it later on if you like. We’ll also bring in a Point Jitter SOP to randomise the point positions. Change its Scale parameter to 0.5 for the time being, as again you can adjust this value as you start to design the shape of the paint swoosh.
04a
04
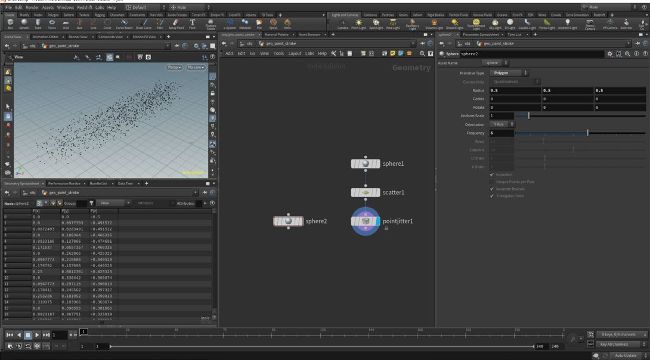
MAKE ANOTHER SPHERE
Now add another sphere that we’ll use to instance on the points we created above. Change the Primitive Type to Polygon as well, and the Frequency to 6. Add a ‘Copy to Points’ SOP below and wire the newly created sphere into the first input, and the points from the Point Jitter into the second input. You’ll notice that the spheres are quite large and all the same size.
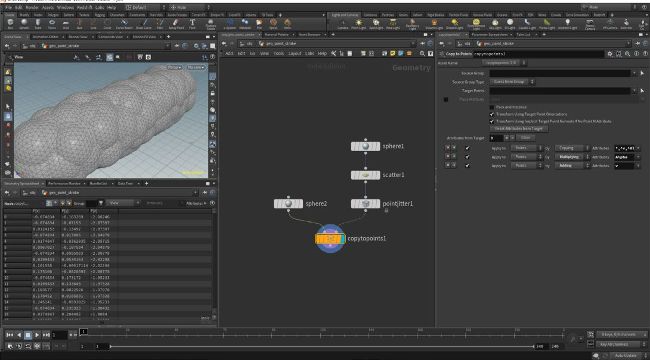
04b
Procedural advantages
Remember that everything is procedural and can be tweaked at any point in the process. Use this power to your advantage; block out your chain of operators first and then come back later to tweak individual operators into shape.