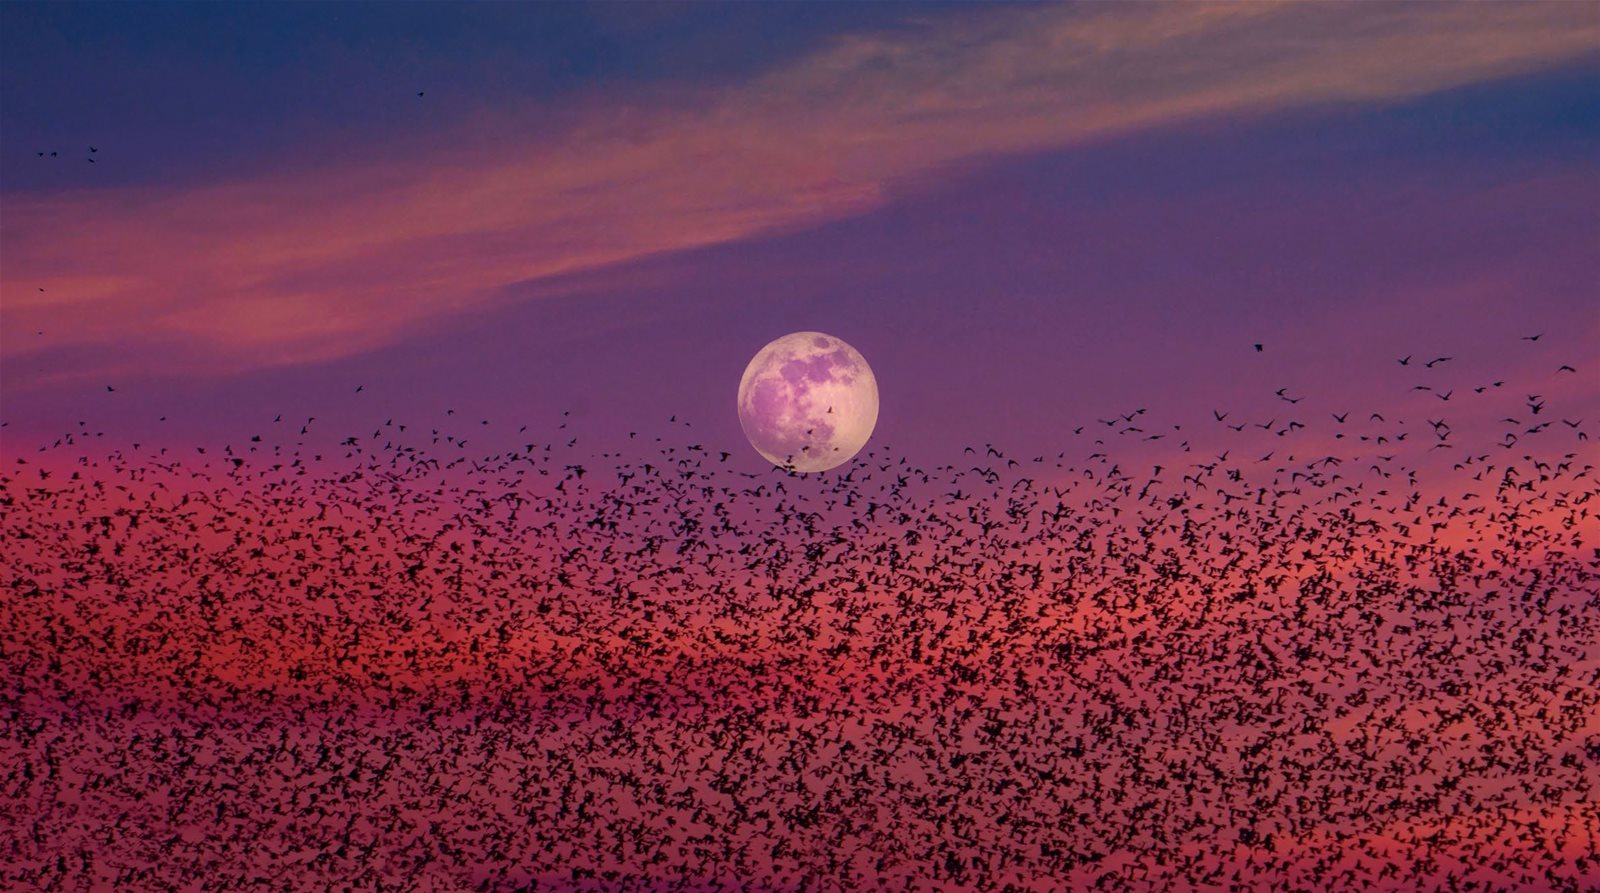
ENHANCE THE ATMOSPHERE With appropriate white balance settings you’ll be able to accurately capture the mood of a scene while enhancing the original colours for greater impact
© Jignesh Chavda djusting the white balance
A settings is crucial to avoid colour cast issues that can be difficult to fix in post-processing. Furthermore, it could take hours of work when dealing with many images, so it’s best to invest time in adjusting these settings beforehand. Most modern cameras have pre-dialled white balance modes, which are tuned to produce accurate colours in range of lighting conditions. However, these presets can also remove shifts in colour that we want to capture. To use these settings like a pro, start by taking the auto settings as a reference, and customising them further to control the hues of the scene.
BRACKET YOUR WB
To perfect customised settings, many cameras come equipped with a white balance bracketing mode. Here, you capture a series of frames with different WB settings on either side of the selected parameters and merge them together.
1USE AUTO WB
To do this, first create a neutral reference image in auto WB mode. The colours will appear dull and flat, but it’s a helpful step to avoid creating an unnatural colour palette and over-saturated tones in the following adjustments.
2CHOOSE PRESET
Select an auto WB mode that matches the lighting in the scene, while also boosting the hues. Here, you can choose between Daylight, Shade, Cloudy, Incandescent and Fluorescent settings, and these will result in a noticeable improvement.
3
CUSTOMISE WB
To achieve the best possible colour palette, either switch to Custom/Kelvin control and select the colour temperature that’s similar to the preset, or click on the preset to enable WB Adjustments. Now, add more specific tonal customisation.