Camera College
The complete guide to modern photography
SPONSORED BY AFFINITY Photo
Marcus Hawkins
Photographer and writer Marcus is a former editor of Digital Camera.
NEW TUTORIAL SERIES
With a monthly photo challenge
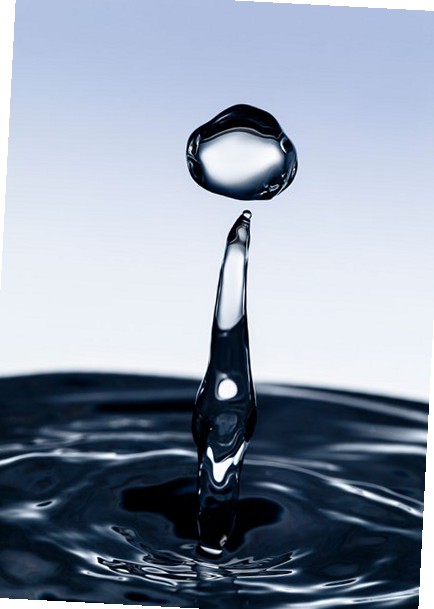
A pristine water-drop photo like this might seem impossible to achieve, but it’s surprisingly easy to achieve at home.
Get started in waterdrop photography
Make a splash with your photography, with the help of this guide to setting up a simple home studio, and the essential techniques you need to create liquid art
■ Few home photography projects require you to channel your inner Henri Cartier-Bresson as much as waterdrop and splash photography. Capturing the moment a droplet hits a pool of water below it needs the same feel for finding ‘the decisive moment’ that features in street or sports photography.
To freeze the elegant and interesting shapes formed when the water splashes, you’ll also need patience, a powerful light (in the form of an off-camera flashgun) and some way of creating drops that have a reasonably predictable frequency. There is a range of commercially available electronic options that give you control over the size and timing of the drops, but you can achieve a lot with a simple home set-up.
A plastic bottle or bag with a pinhole in the base, suspended above a bowl, tray or glass of water is all you need to get started. A bottle will be easier to refill without disturbing your set-up, and you can regulate the flow with a piece of electrical tape. You can also go for something which allows for manual adjustment of the drop rate, such as a pipette or a small syringe attached to a piece of plastic tubing. The crucial thing is to make sure that the drops fall in the same place each time.
Try experimenting with different liquids, too. Full-fat milk and emulsion paint have a higher viscosity than water, and this will alter both the flow rate and the shapes of your splashes. Adding xanthan gum to water will also create a more viscous solution that retains its transparency and can be lit from behind.
The container you choose for the drops to fall into can also affect the characteristics of the shapes created by the drop. Try switching from a smaller, deeper glass or jar to a shallower tray, and see which effect you prefer. If you want to capture the reflection of the splash, you’ll need a container that’s large enough to avoid including its edge when you frame your shot.
You can use any close-focusing lens for these types of images, but a macro lens gives you the freedom to get particularly close, and means that you don’t have to crop the end result as much. Don’t get too close, though, unless your camera gear is sealed and waterproof.
Time your shots
Master the most challenging aspect of a water-drop shoot
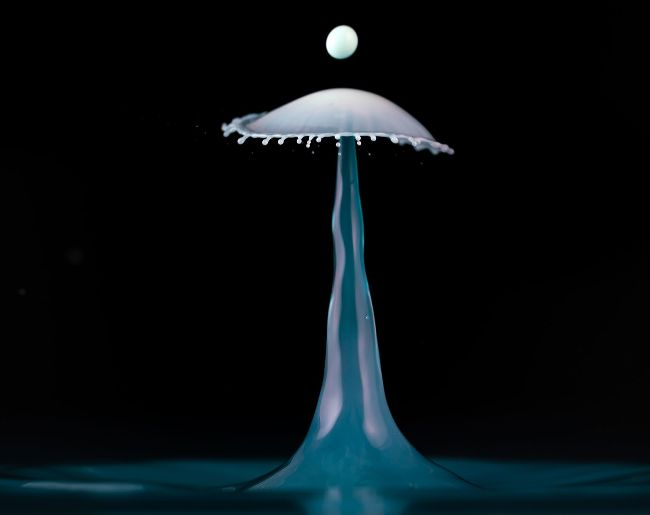
■ Like telling a joke, the key to water-drop photography is getting your timing right. Whether you’re going for water drop collisions, ‘dancing domes’ or a more ‘solid’, sculptural take on the subject, as shown here, the moment you trip the shutter and fire the flash is important.
Be prepared to fill multiple memory cards when you’re shooting water drops, as the misses will definitely outnumber the hits. Set your camera to its continuous drive mode and switch off any features that may slow down your shooting rate. You may be able to achieve a faster burst if you use a DSLR viewfinder rather than the Live View screen, for example. To avoid inadvertently nudging the camera, use a remote release to take the pictures.
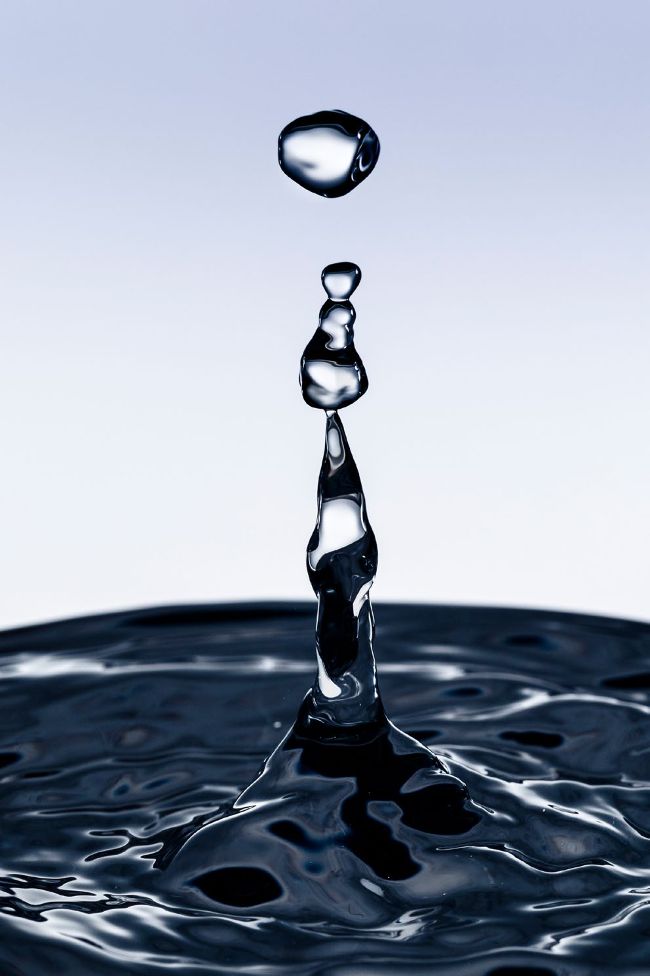
The trick is to capture the ‘up-splash’ as the drop hits the liquid below. Once you’re in sync with the rhythm of the drops, fire in short bursts to improve your chances of capturing the peak moment. Don’t delete images in-camera, though: some of the ‘misses’ can be interesting, too.
Liquid assets Keep some of the less interesting shots, as you can always add some of their elements to other photos using software.
Sharp contrast To achieve the dark water surface, a flashgun was placed on either side of the glass and aimed at the backdrop.