ZBRUSH | MAYA | ARNOLD | PHOTOSHOP
MAKE A 3D RENDER FROM A 2D CONCEPT
Learn how to sculpt, light, shade and render a cartoon-style character based on an illustration
Fan art special edition
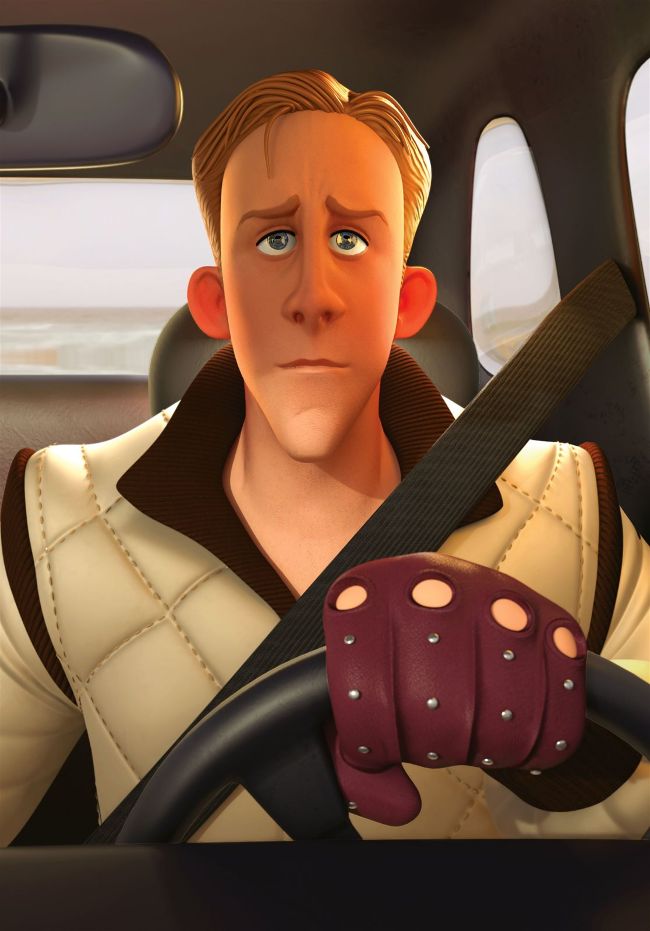
DRIVE I chose this concept from Gabriel Soares to learn new software, and master modelling, textures and light
01
02
03
In this tutorial you’ll discover how to translate a 2D concept into a 3D render, capturing the storytelling behind it, and exploring the best techniques and key elements that will make a beautiful image.
For this render, we’ll be using ZBrush for sculpting details, making the retopology and UVs in Maya, and learning how to use Substance Painter in order to improve the appearance of your characters with awesome textures. Then back in Maya with all the materials assigned, we’ll light up the scene and render the final image using Arnold.
01 BASIC SHAPES
IN ZBRUSH
The first step in creating a character is making the overall shapes based on our concept. Make sure you block out all the shapes with simple geometry and low subdivisions, using the Move brush and Transpose Line. In this phase you can use symmetry; later you can provide some asymmetry to your character to give it a more realistic and dynamic look.
AUTHOR
Marta Macedo 3D character artist with a traditional background, always interested in exploring new techniques or software. artstation.com/martamacedo
02 DETAILS
After blocking out the main shapes of the character, start by adding detail in ZBrush. It is essential to gather good references beforehand. In this process you can DynaMesh the subtools to have more geometry, and start sculpting details predominantly using the ClayBuildup, hPolish, Dam_Standard and Move brushes.