OUR EXPERT
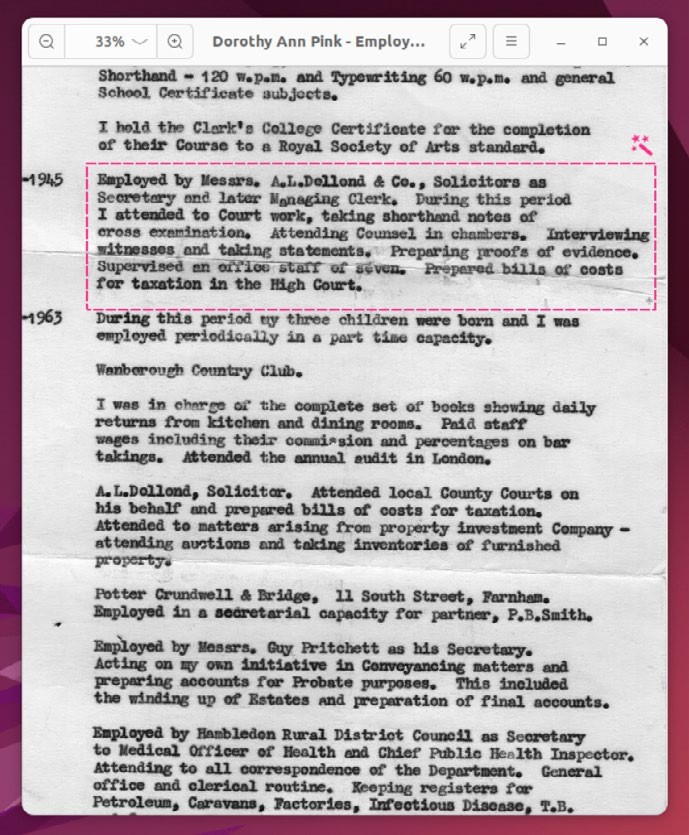
Nick Peers loves his family history, and loves it even more now he can convert family biographies into editable text files without manually transcribing them first.
OUR EXPERT
Nick Peers loves his family history, and loves it even more now he can convert family biographies into editable text files without manually transcribing them first.
Anyone who’s been faced with the arduous task of transcribing text from either printed material or a digital scan of printed text will no doubt have heard of optical character recognition (OCR) technology. OCR is one of the earliest examples of machine learning, whereby a computer model is trained to recognise shapes on a digital image and translate those shapes into text characters. Once the shape of each letter is identified and translated into editable text, words followed by sentences, paragraphs and entire tracts of text can be extracted from the digital scan.
OCR has roots going back to the 1980s, and while commercial engines perform increasingly miraculous conversions – not just on typed text, but also handwriting – open source engines continue to develop alongside them. Linux is blessed with several OCR engines, all with roots in commercial products, but now open sourced and completely free to use. The best known of these – which we’ll focus on in this tutorial – is Tesseract (https://github.com/tesseractocr/tesseract), a command-line OCR engine that can be used on its own or paired with a number of graphical front-ends to perform OCR across a variety of usage scenarios, from extracting editable text directly from scanned documents to converting everything from PDFs and image files to screen grabs and imagebased subtitle tracks in media files, too.
Before going further, check the box opposite for a quick look at Tesseract and two of its main open-source rivals – note, you can install all three at once and try different ones to see which produces the best results.
Choose which part of the screen to capture and NormCap OCRs its contents and places them on the clipboard.
Marks, set, scan!
The obvious place to start is by installing the underlying Tesseract OCR engine. It exists in various forms – including standalone AppImage and Snap – but you can also install it via its own repository to ensure it’s the latest version (5, as opposed to 4 in most universal repositories):
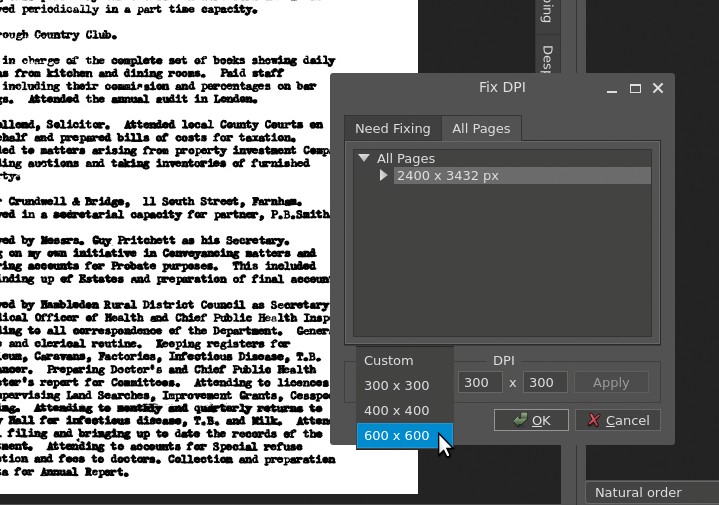
If your scanned image isn’t perfect, use ScanTailor Advanced to make it clearer for Tesseract to read and translate.
$ sudo add-apt-repository ppa:alex-p/tesseract-ocr5 $ sudo apt update $ sudo apt install tesseract-ocr
This installs both the Tesseract engine, plus trained data enabling it to recognise English text. You can add more languages using sudo apt install tesseract-ocrlan , substituting lan with the relevant country code, such as fra, spa or deu.
With the command-line engine installed, you can now perform OCR from the command line on a wide range of files – prior to 2016, Tesseract only worked with TIFF files, but now it can handle most popular formats, including PNG, GIF and JPEG. Basic command-line usage is as follows: $ tesseract image.jpg textfile
Full documentation can be found under Command Line Usage at the program’s online documentation (https://tesseract-ocr.github.io/tessdoc/), but instead of persevering with the terminal, let’s examine a selection of GUI tools that provide a user-friendly frontend to Tesseract while also expanding its capabilities.