Beginner’s Guide to Time Machine
Time Machine is built into macOS, so there’s no excuse for not backing up your Mac
WRITTEN BY KENNY HEMPHILL
Apple first launched Time
Machine15 years ago in an attempt to make it as easy as possible for Mac users to back up regularly, and be able to restore anything from a single file to their entire Mac with the minimum of fuss.
Time Machine was launched alongside a neat piece of Apple hardware known as Time Capsule, which combined an AirPort router and a hard drive. The idea was that you would use the networked hard drive with Time Machine to back up portable Macs wirelessly. Time Capsule was discontinued in 2018, but Time Machine lives on and was overhauled following the introduction of the Apple File System (APFS) in macOS Sierra.
You can use any locally connected hard drive or SSD as a destination for Time Machine backups. You can also use a folder on a Mac connected to the same network, or a network-attached storage (NAS) device. Not all NAS work with Time Machine, though; the device must support either a recent version of SMB or Apple’s now-deprecated Apple Filing Protocol (AFP). To use a NAS, you’ll need to consult the manufacturer’s instructions on how to set it up for use with Time Machine.
How to use Time Machine
Set it and forget it – once done, you won’t even know Time Machine is running
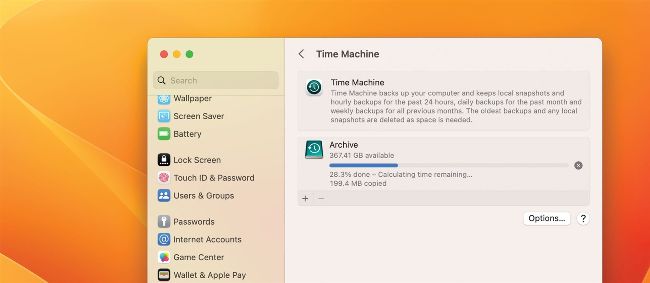
Time Machine backs up your Mac at hourly intervals, copying only those files that have changed since the last backup.