Casting my mind back to when I was 21 – which is a few years ago now – Iremember Geoff Hamilton saying to me: “The answer is in the soil, boy!”. Yes, a man ahead of his time, but so right. The key to a good garden is your relationship with the soil; it’s the most important thing you have in the garden, yet it’s easy to take it for granted.
When we moved into our new place, the first thing I did was test the soil to work out the pH levels, which for me are on the alkaline side. Knowing your soil’s pH will allow you to grow a suitable range of plants, so I recommend buying a simple soiltesting kit. But don’t just test in one spot, move around your garden as it may vary.
Then get your hands into your soil – feel the texture, and look at the colour and composition. See what life there is in it. The healthier your soil, the more resilient your plants will be when it comes to resisting pests and diseases.
But you don’t need to worry if your soil isn’t in tip-top condition – there are plenty of ways to improve what you have.
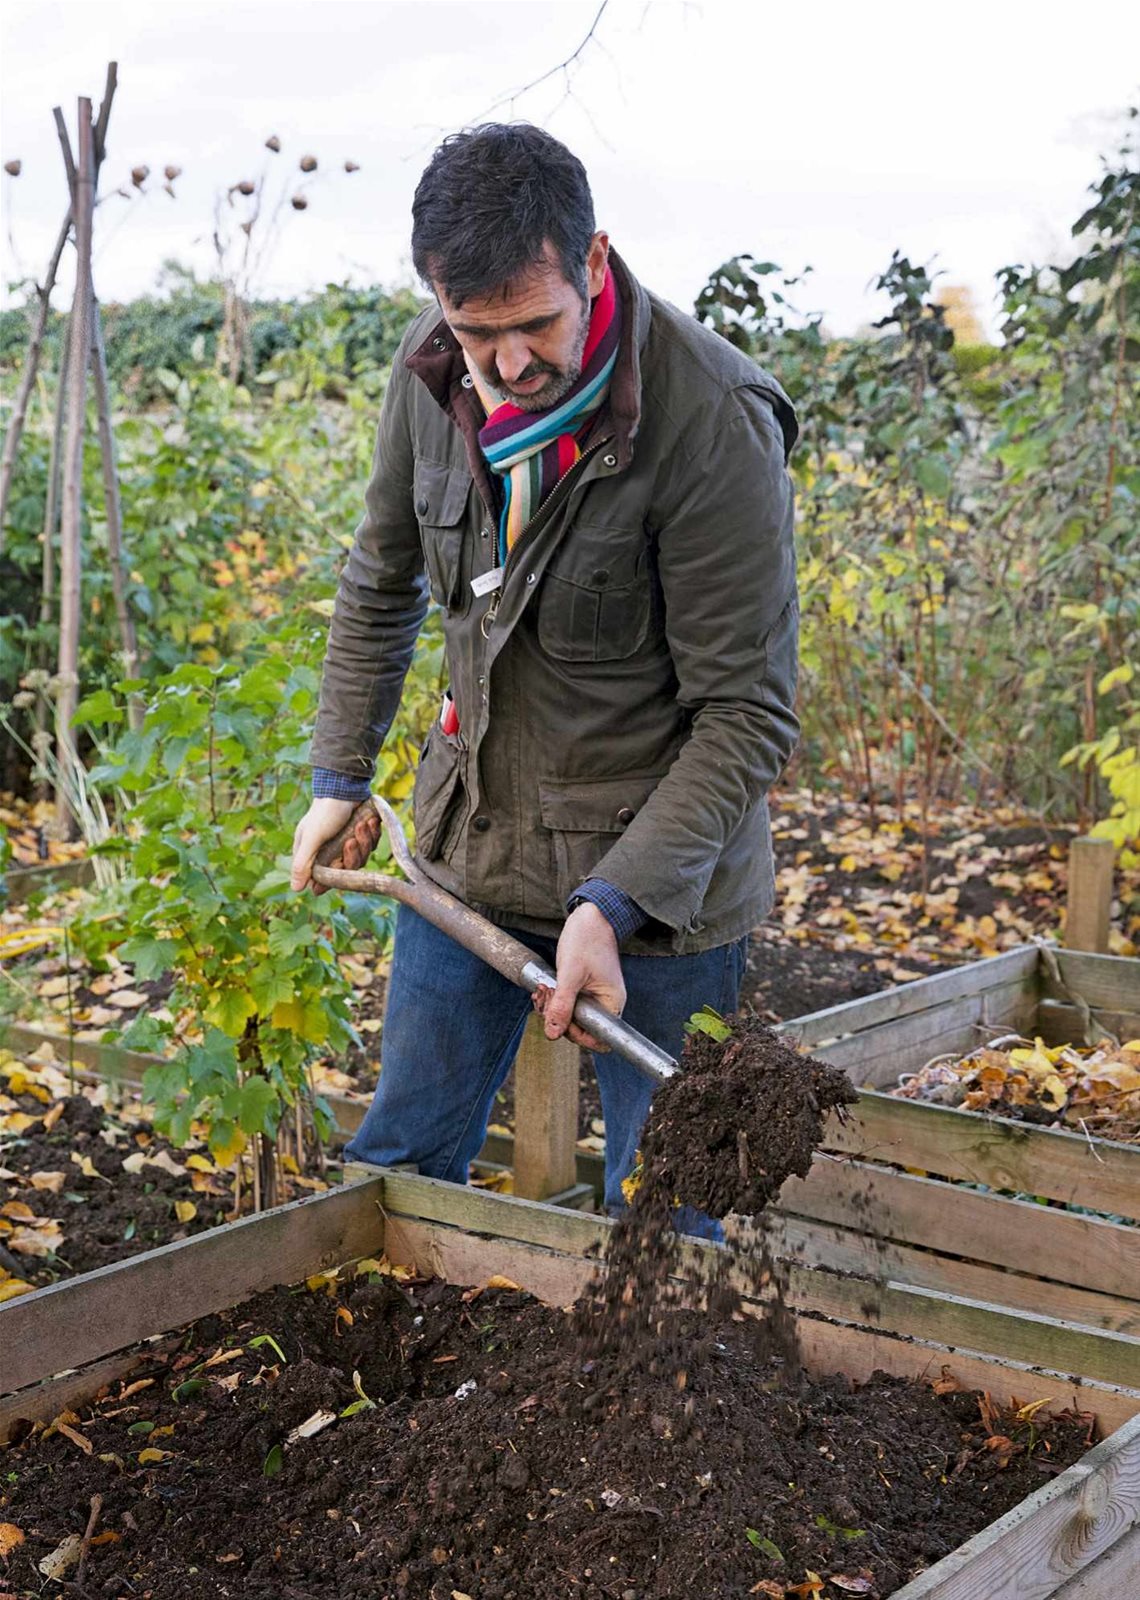
One of the most important things you can do is to add organic matter. Not only does it improve the structure of both clay and sandy soil, it also helps it to retain moisture for healthy plant growth. Add a layer of compost yearly to start with and you’ll soon reap the benefits. We hear a lot about no-dig, which has its benefits, but for me if I’m creating a new bed I still dig it over. It might sound like hard work, but as sad as it sounds it means I can spend some time with the soil, spotting the dry patches, stony areas, heavy areas and so on. At this point I also incorporate about 7cm of organic matter.
An annual mulching is the best way to keep your soil in great condition and your plants thriving
PHOTO: NEIL HEPWORTH
“The healthier your soil, the more resilient your plants will be when it comes to pests and diseases“

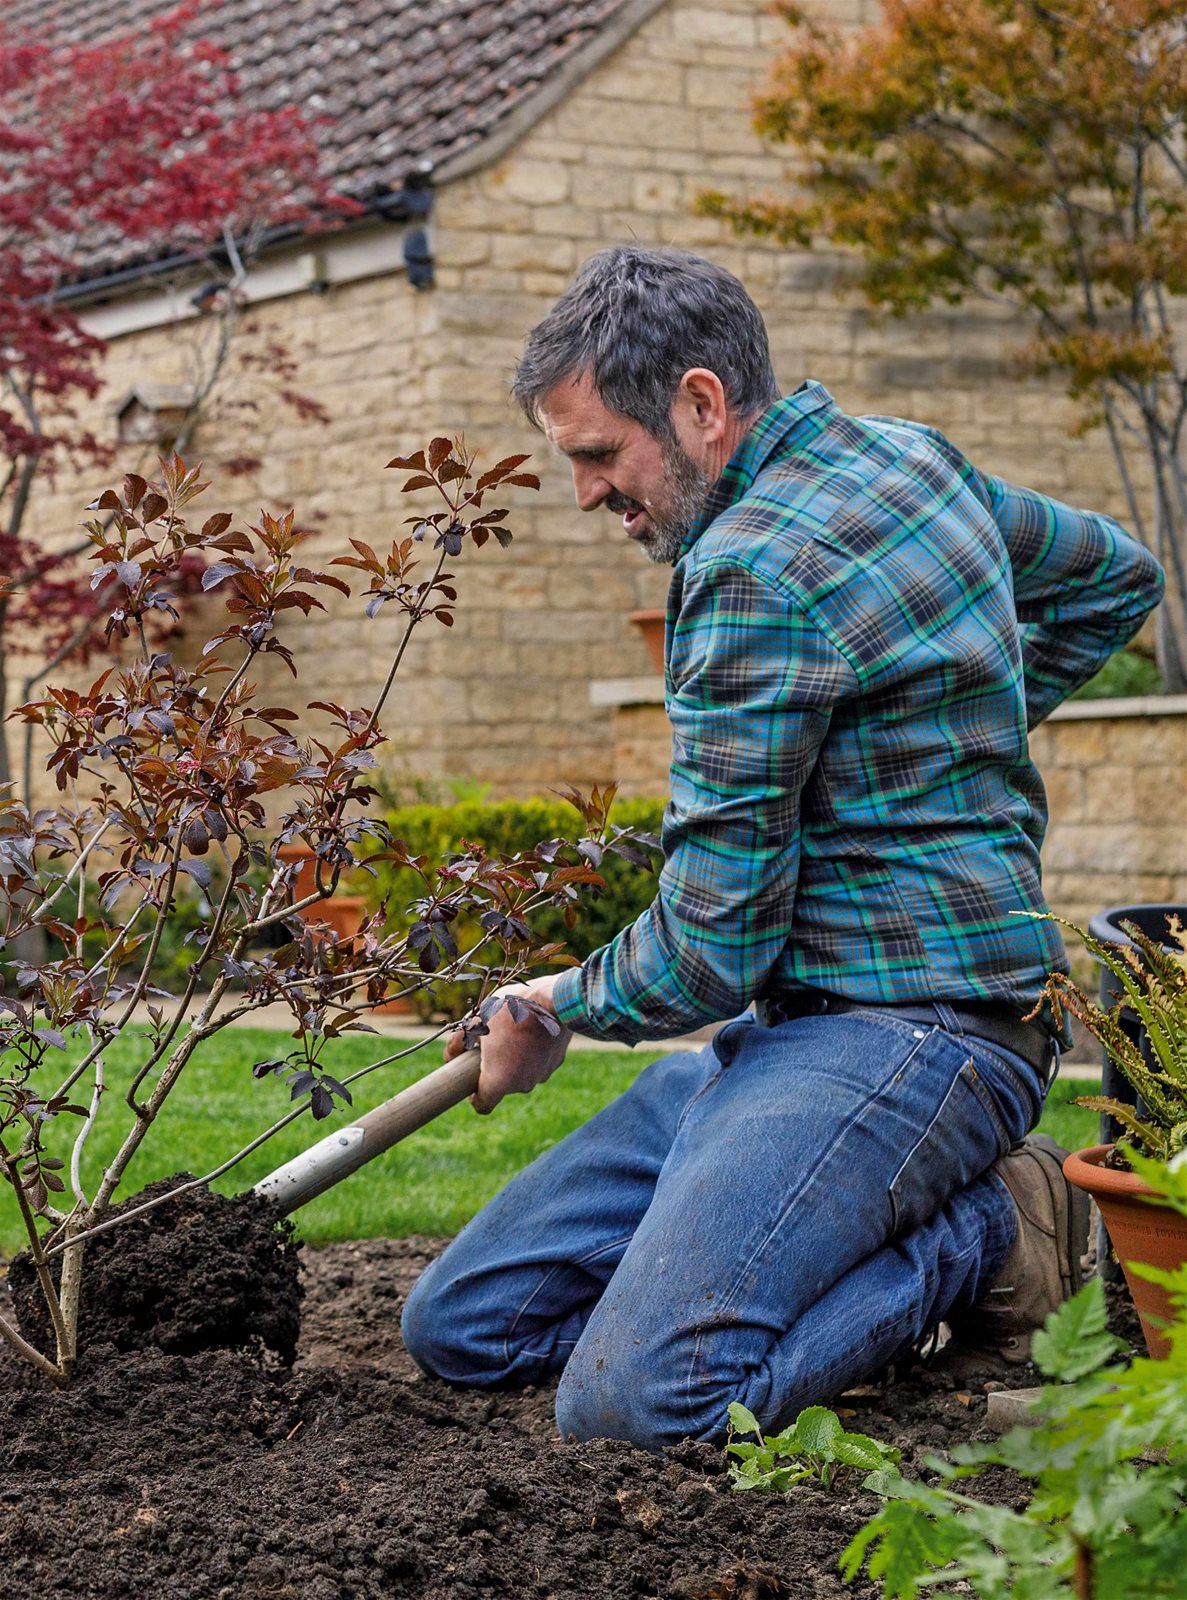
Healthy soil is full of life, drains well and is usually easier to dig
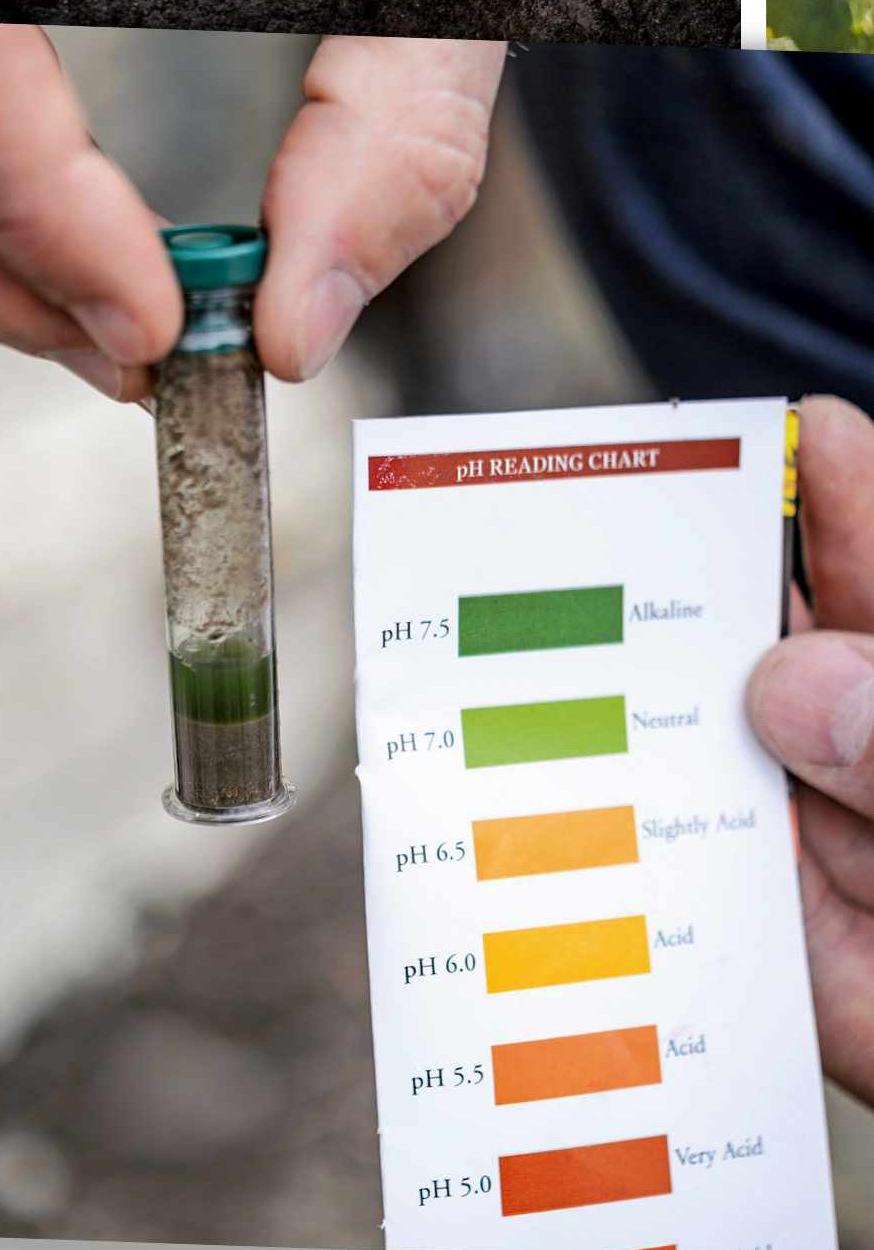
Measure your soil’s pH value in several locations as it can vary considerably
PHOTOS: SARAH CUTTLE; NEIL HEPWORTH
I only ever dig an area over once, and from then just apply a mulch every year. Within two or three years you may find that you only need to mulch every other year.
Circle of life
Homemade compost is something that you can create from your own raw vegetable peelings and garden waste, and I love making it for a number of reasons. Firstly, I don’t like things going to waste if I can help it. Secondly, it makes environmental sense – the less material that leaves your garden the better. Thirdly, it’s a great way of saving a few quid – what’s not to love?
At home I have four timber-built bins, each one metre square, in the front garden in an area that’s not very useful for anything else. I don’t worry too much about finding the perfect spot – it’s more about where they work with the aesthetics of the garden.
A lot of people have a bit of a moan about the autumn leaf-drop, but leafmould is super stuff: fibrous, humus-rich, moistureretentive and full of goodness.
If you’re collecting leaves to make your own leafmould, it’s best to use a mixture of deciduous leaves of a similar type so they rot down at the same rate. Generally, it takes around a year for them to break down into a rich, crumbly, dark-brown mix. For use in compost mixes I tend to leave it longer, say 18-24 months, so it’s more finely broken down. It’s worth being aware that some leaves take longer to break down than others. With big, leathery leaves I’d recommend chopping them up before adding them to the cage, either by going over them with a lawnmower when they’re dry or putting them through a garden shredder. Only use leaves from conifers and other evergreens in small quantities as they take a longer time to rot down, even when chopped.
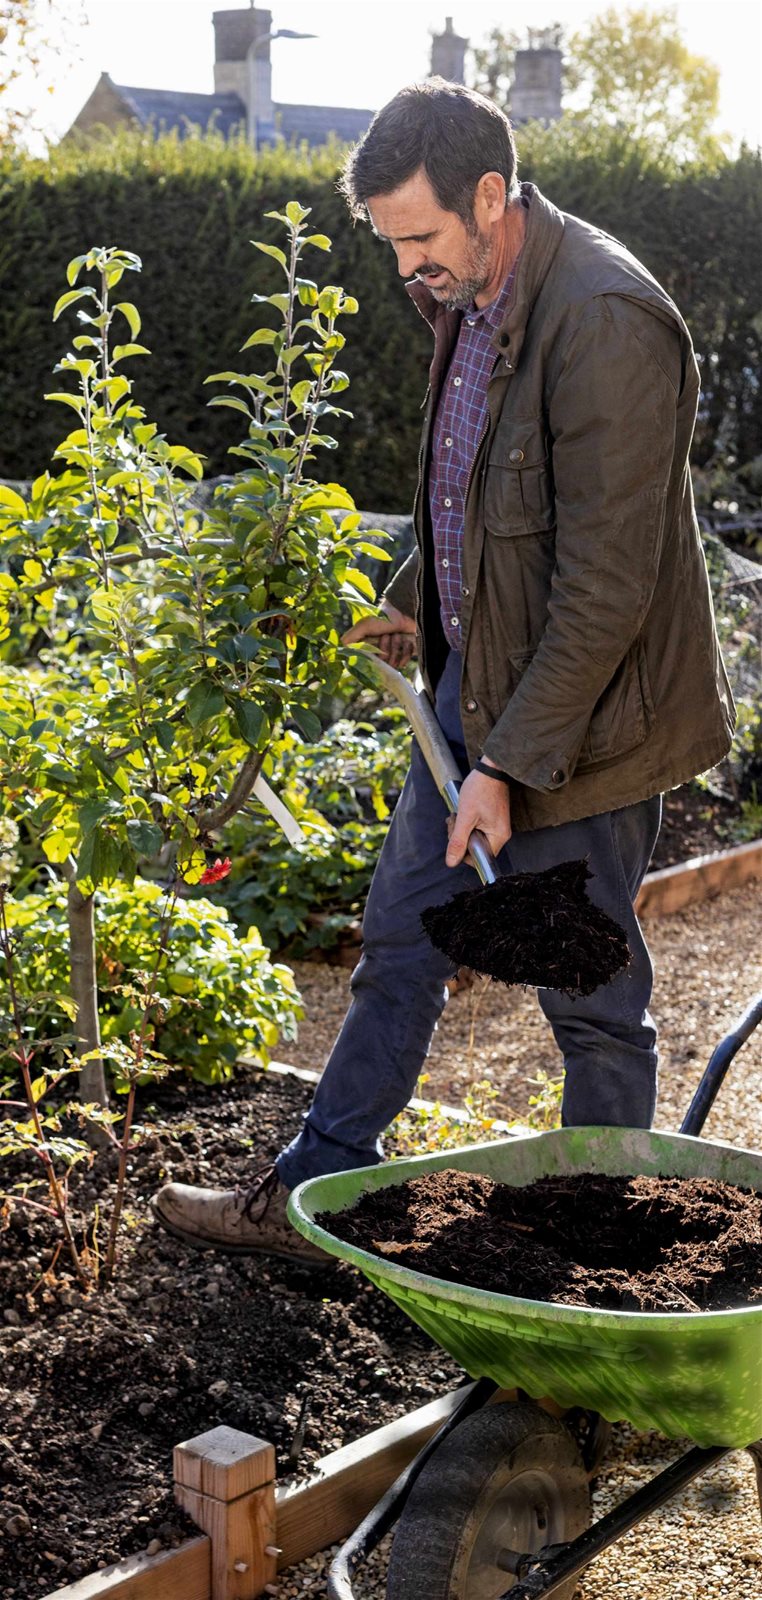
Regular mulching ensures plants have the nutrients they need to grow well
“I only ever dig an area over once, and then just apply a mulch every year”
How to make leafmould
I produce leafmould in a couple of different ways. The first is using four sturdy posts driven into the ground in the shape of a square about one metre in each direction, with chicken wire wrapped around.
The other way I do it is just at the back of borders by creating small piles of leaves. This doesn’t tend to make a very pure leafmould but you do end up with a handy material.
Try to choose a spot that gets a decent bit of rainfall and ideally also a bit of shade in the summer months. Leaves are best kept moist but you don’t want them sodden, so avoid packing them down too tightly.
If you don’t have the space for a leaf cage or room at the back of your borders, you can always use thick plastic bin liners. Just fill with leaves, tie at the top and punch plenty of holes in the sides.
Month November 2023 2023
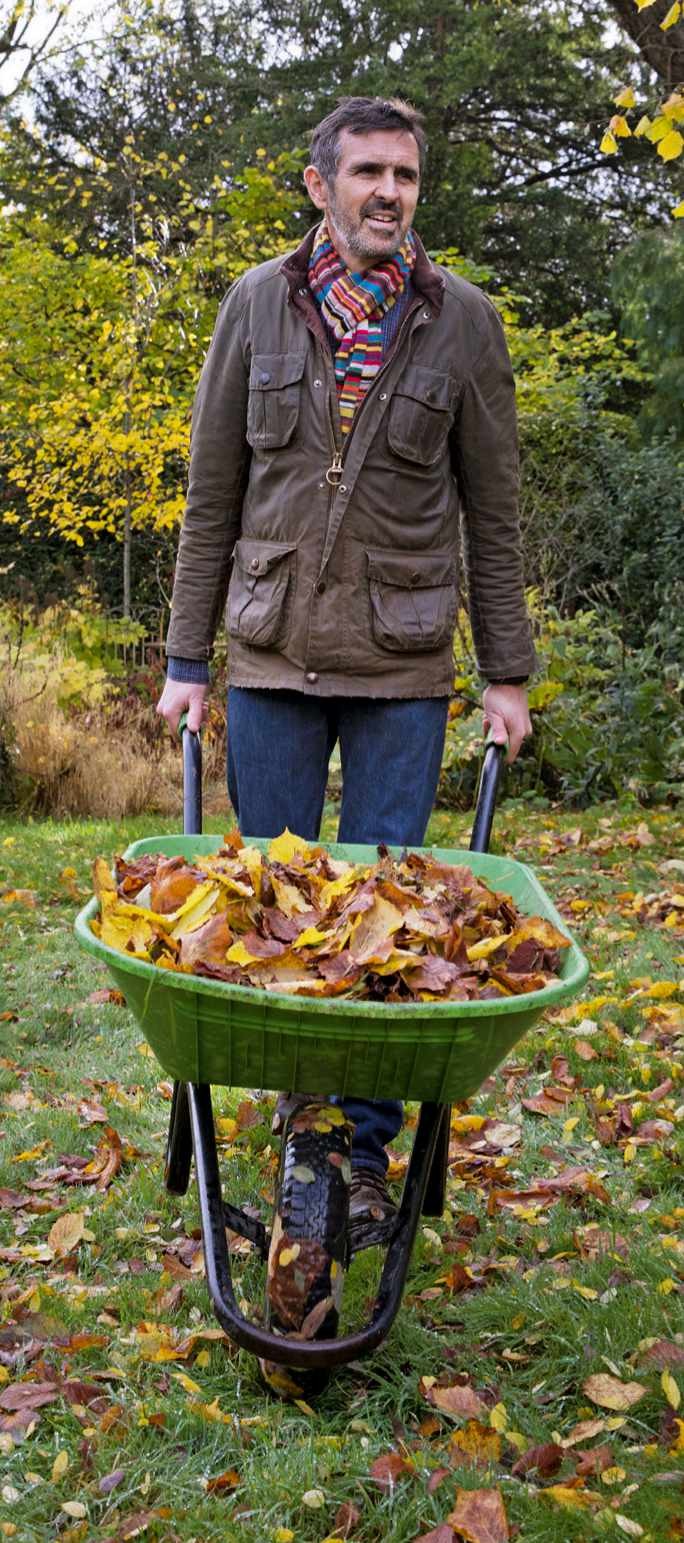
Gather leaves by hand, with a leaf vacuum, or a mower if the weather’s dry
Homemade compost is ready when it’s taken on a light, crumbly texture
PHOTO: SARAH CUTTLE
Composting made easy
Making your own compost isn’t exactly rocket science, but it is important to get the mix correct. Aim for about half of the ingredients to be soft, green materials – grass clippings, annual weeds, nettles, fruit peelings and vegetable kitchen waste – to feed the microorganisms. The other half should be woody, brown material such as small prunings, wood chippings, paper, cardboard, straw or dead leaves.
You’ll soon spot if you’ve overdone it in either direction – slimy and mushy means too much green, while dry and slow to rot down means too much brown. And don’t forget to turn the compost heap from time to time – Ido mine once a month – to help aerate it and keep the composting process going at a decent pace.
Another way to move things along is to make sure the compost is warm and retains moisture by covering it over and cutting out sunshine. Some people use a piece of old carpet, but I prefer to use thick cardboard as this does the trick and will eventually rot down to become part of the compost. If you are concerned about the whole thing becoming too dry, just pour a bucket of water over the top.
It usually takes 12-18 months before my compost is in a useable state. You’ll know it’s ready when it’s become a rich brown, sweet-smelling and crumbly substance not unlike Christmas pudding mix. That said, if you’re just going to spread it on the garden you’re fine to use it when it’s still a bit lumpy and not perfectly broken down.
“After homemade compost, horse manure is what I favour using, but that’s partly because it’s locally available”
Animal magic
Manure breaks down naturally in the soil, releasing its nutrients, as well as being a rich, natural source of organic matter to help add structure to the soil.
For me, it falls into two groups; horse and farmyard, which usually has a lot of cow manure in it. Because horses don’t digest their food as effectively as cows, their manure needs to be a few months older before you add it to the garden.
After my own homemade compost, horse manure is what I favour, but that’s partly because it’s locally available. Farmyard manure can be a little heavier to use, but both can be super for mulching borders and in the vegetable garden – just be mindful not to use it where you are planning to grow your root vegetables.
Mushroom compost often contains chalk and is alkaline in nature, so it’s important to really understand your soil’s pH before using it. Also, while it’s usually excellent for the vegetable garden, I would steer clear of using it on ericaceous plants, which want to be growing in acidic soils.
It’s a good idea to find out whether any mushroom compost that you’re buying has been used to raise mushrooms; if it has you may find it has large bits of chalk in it, and it will be more alkaline. I would only use this in moderation and would alternate from year to year with well-rotted manure or garden compost. If the mushroom compost you’re buying has not been used to raise mushrooms it should be less alkaline.
Catch up with Adam
See any Gardeners’ World shows you missed this year on the BBC iPlayer and listen to Adam’s podcasts at Gardeners World.com/podcast