Edit photos like a professional in GIMP 3
Shutterbug Nick Peers reveals how to use GIMP’s new and improved tools to take your photos to the next level.
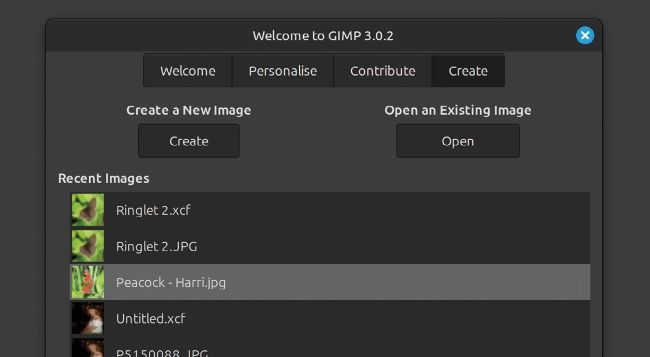
GIMP’s new splash screen makes it easy to revisit previously opened photos – you can also tweak certain preferences.
Think image editing and there’s
one application that stands
head and shoulders above
every other: GIMP. The venerable
image editor continues to evolve and
improve, and final version 3.0 is the
best release yet. Not only do you gain
support for non-destructive filters,
which is a game changer for image
editing and manipulation, but there are
also numerous improvements to the
app’s user interface and workflows, as
well as native Wayland support and an
updated GTK3 interface that scales
beautifully on 4K screens..
In this tutorial, we explore its many new features, plus reveal how to use it primarily as a tool for editing your photos.
Update to GIMP 3.0
Ubuntu users will find the latest version of GIMP is available through the App Center as a Snap package (GIMP 3.0 is also available through Ubuntu 25.04’s default repositories); Mint users should select the Flatpak version through Software Manager. You can also download a portable AppImage through the GIMP website (www.gimp.org/downloads).
Once updated or installed, you’re ready to launch GIMP. If you’re a first-time user, it’s relatively straightforward to navigate, while existing users will find everything’s familiar. New in version 3 is a welcome dialog, which opens to a splash screen providing links to the website, tutorials and general documentation.
The dialog offers three further tabs: Personalise enables you to make quick adjustments to the user interface. You can switch between three basic colour schemes, plus change icons from the default to a legacy set from an earlier release. The default set is monochromatic – flick Use Symbolic Icons If Available to Off if you’d rather they were multicoloured.
You’ll also see controls for overriding the default icon and font scaling settings – of most use to those using 4K displays – along with an option for changing the language, plus a couple of toggle-based switches to merge the menu and title bar and toggling tool groups on or off as required. All changes (except where noted) are applied instantly.
The Contribute tab is where you can send bug reports, volunteer your time on the project as a coder or translator, or donate to help fund development.
Last, but by no means least (as it’s the tab GIMP defaults to on all subsequent startups), there’s the Create tab. Initially this provides simple Create and Open buttons for starting from scratch or opening an existing image. Going forward, you’ll also see a Recent Images list of all those images you previously opened.