DUAL-BOOT+
Booting multiple operating systems
Christian Cawley examines the various ways you can boot your Raspberry Pi, from installing an OS to multibooting.

Christian Cawley is a former desktop support engineer, and has been breeding Raspberry Pis for two years. His efforts have recently been rewarded with the birth of a Raspberry Pi Zero 2 W.
OUR EXPERT
B ooting an operating system on the Raspberry Pi is straightforward, but the tools used for the process have changed over the years. Since the release of the Raspberry Pi 4 and the Pi’s slightly different architecture, new utilities have been developed, both for single installations and for multibooting.
Meanwhile, the price of SD cards has plummeted.
While the basic tools – Raspberry Pi Imager, Etcher and so on – are suitable for single booting, BerryBoot is particularly useful for multibooting, as is NOOBS. There is also a web-based solution that automates single and multiboot installations via your browser, called PINN.
Everything explained here assumes you’re using a Raspberry Pi with a keyboard, mouse and monitor attached, with an accessible network connection.
The Raspberry Pi has a decent selection of operating systems available, from the default Raspberry Pi OS and various lightweight alternatives to things such as RetroPie and Recalbox for retro gaming, OSMC and LibreElec for running a Kodi-based media centre, and many more besides.
Installing a single operating system requires you to first download the image file for the OS. This is typically in .IMG format, usually around 5GB in size. Many can be found on the Raspberry Pi website (www.raspberrypi. com) when you click the Software. Others can be found by searching further afield. Here we’ll look at the various options you have for installing a new operating system on a Raspberry Pi.
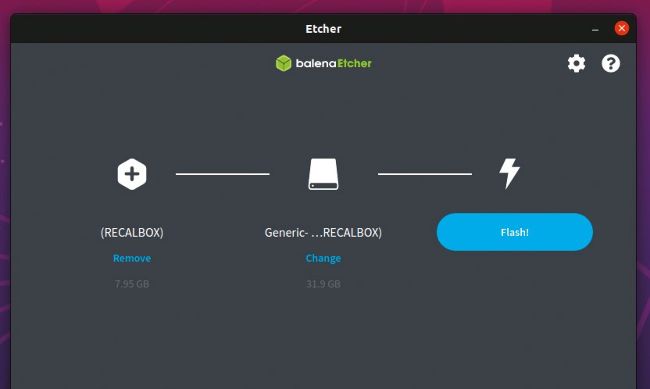
Take an Etcher-sketch of your preferred Raspberry Pi operating system with this efficient utility.
Raspberry Pi Imager
Taking the place of NOOBS as the de facto installer, and pushing Etcher down the pecking order, Raspberry Pi Imager is a multiplatform utility for writing a single operating system to an SD card. Start by grabbing it from the Raspberry Pi website (https://bit.ly/LXF285-imager) and installing on your computer. You can also install the Snap package from the terminal with: snap install rpi-imager
»BOOTING MEDIA OPTIONS FOR RASPBERRY Pi
Using a microSD card to boot the Raspberry Pi isn’t the only option you have. The Raspberry Pi 4 and 400 both support booting from USB rather than a microSD card. This opens up a range of options. USB flash sticks, USB hard disk drives, solid-state drives with USB, even NVMe devices with a USB adapter can be hooked up to the Pi 4 to boot up.
Most of these devices are likely faster than a standard microSD card, and certainly more resilient. Consequently, the option is now available to prioritise
disk speed and performance by choosing to move away from the traditional microSD booting method.
Enabling booting for the Raspberry Pi 4 and 400 is straightforward, but can only be done easily using Raspberry Pi Imager. When selecting the operating system, scroll down the menu to the Misc utility images sub-menu. Here, select Bootloader, then USB Boot. With this set, the Pi will boot from an attached USB device, or if this is unavailable, will try to boot from SD.
Next, in the Storage menu, select the SD card, then Write the image. Once complete, and with the Pi booted from the SD card, attach the USB device to boot from.
In the Pi’s desktop menu, select Accessories then SD Card Copier. Use this to copy the image from the microSD card to the USB storage. Once complete, shutdown the Raspberry Pi, remove the microSD card, and power up. The computer will now boot from the attached USB drive.