PI PICO W
Control a world of lights with CheerLights
Bringing cheer and joy wherever he goes, Les Pounder once again creates an illuminating project with a global reach.
OUR EXPERT
Les Pounder is associate editor at Tom’s Hardware and a freelance maker for hire. He blogs about his adventures and projects at http://bigl.es.
We have a deep love for NeoPixels. One of our first projects as a maker in residence (well over a decade ago) was a USB dance mat that controlled a series of NeoPixels. It was called the Dance Mat of Doom and it annoyed a lot of parents at the Raspberry Pi Birthday Party. NeoPixels, WS2812B to be exact, are individually addressable RGB LEDs. Essentially, we can individually control thousands of RGB LEDs using very few system resources.
YOU NEED
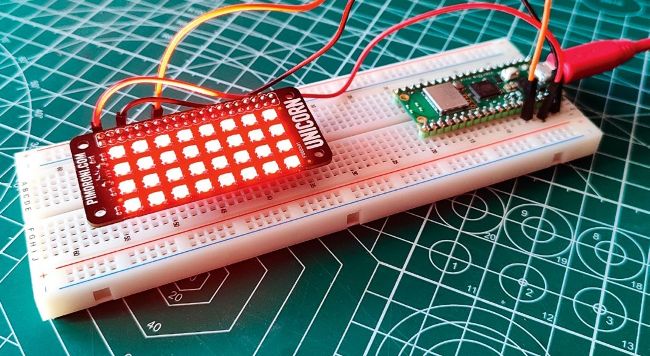
Pi Pico W or Pico 2W Breadboard 3x jumper wires NeoPixels Code: https://bit.ly/lxf327code
In this tutorial, we shall learn how to use the CheerLights API to control our NeoPixels and those of the thousands of projects that use the CheerLights API, all via MicroPython.
CheerLights sees devices across the globe react to requests, making them change colour. Using a USB power bank, this project can be used in any part of your home.
Setting up the hardware
NeoPixels, WS2812B RGB LEDs to give them their proper name, are simple and fun output components. We can set them to any colour, animate them, write messages and show icons or images. They need only three connections: power (5V, but we use 3V), GND and data in (NeoPixels also have a data out pin to connect to longer chains of LEDs, but we are not using that today). Note that the choice of 3V power means that our NeoPixels will not be as bright as they can be, but they will consume half the power. We tested this with magenta at 5V; this pulled 800mA (4W) versus 3V pulling 440mA (1.32W). The brighter the LEDs, the hotter they are. Ask us how we know this. Ouch!