PFSENSE
Build your own hardware firewall
Worried about intruders and hack attacks? Nik Rawlinson shows how to take charge of network security with the BSD-based pfSense firewall.
Credit: http://pfsense.org
OUR EXPERT
Nik Rawlinson is an Esperantospeaking, pencilbothering, manual typewriter fan who also happens to have a soft spot for tech after sufficient years in the business to know what that disk icon on the Save button actually means.
You might not think you need another firewall. The one built into Linux is Y working all the time in the background to protect individual computers, and many routers have their own firewalls to protect the whole network. But running your own custom firewall has several benefits: it gives you more flexibility and better oversight of what’s going on in the background and logs, lots of logs!
And it’s easier than you might think. You don’t need specialist hardware, and you don’t even need to pay for enterprise-level firewall software. The open-source pfSense firewall is free for personal use, with a graphical interface for administration and all the same features as the enterprise version (the difference is that you don’t get commercial support). You can run it in a virtual machine on any PC on your network, or install it natively on a retired PC. Note, however, that you can’t run pfSense on a Raspberry Pi, because it doesn’t support the ARM architecture.
System requirements
PfSense installs as a complete operating system based on FreeBSD, so it has the same system requirements. This means you need to allocate it least 512MB of memory, and have a 64-bit processor running at more than 500MHz. If you want to support gigabit Ethernet or faster connections, it’s recommended to use a system with multiple cores running at speeds in excess of 2GHz.
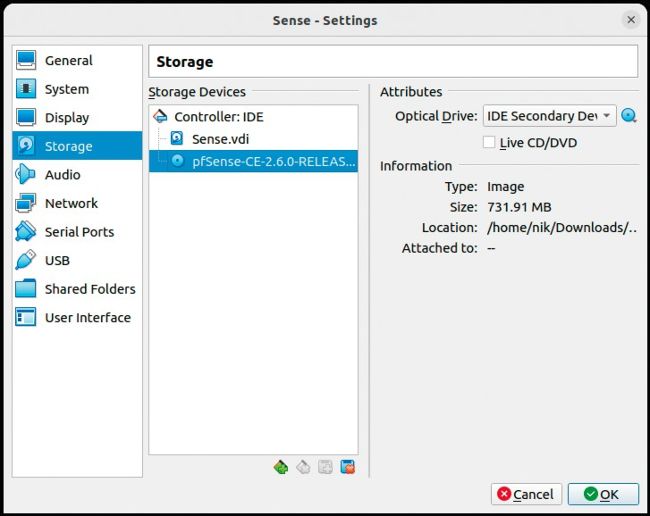
Select the ISO image, from which your virtual machine will boot.
BASIC TRAFFIC SHAPING
Often called throttling, pfSense can apply per-client rules, for instance on guest VLANs, to stop individuals using all the bandwidth. Doing this in a simple way utilises a static throttling rule on a subnet/client basis without regard for anything else going on – ie it’s a dumb set level.
Select Firewall > Traffic Shaper > Limiters > Add New Limiter. This enables you to create a new static limiter that is used for either upload or download – let’s create one for 10Mb download. You also want to create another one for the alternative upload or download, and then save. Now you have a list of basic limiters that can be used.
Next, head over to Firewall > LAN or the device/network you want to limit, be it a client or entire subnet. The important areas here are Source – for a single host (ie a device), enter its IP address, you can use the Invert switch to apply this to every other device. Leave Destination as Any. Use an decent description so you know what it is down the line. At the bottom of the Advanced options (there are a lot), you’ll find In/Out Pipe, where you select the speed of the In
(upload speed) and Out (the download speed). Once the rule has been created, the cog on the left-hand side of the rule means that there are limiters applied.
Be aware that this rule will not work on Layer-2 traffic, which is to say it can’t control internal network traffic – it can only be applied to packets entering and leaving the network.