TUTORIAL: CREATING A BROKEN MIRROR EFFECT USING PROCREATE
By Nicki Fitz-Gerald
With a bit of editing experience, it’s fairly easy to superimpose a photo of cracked glass over a photo of a subject, such as a face. But to really stretch your creative mobile photo editing skills, how about making it look like the face has cracked with the glass to get a broken mirror effect?
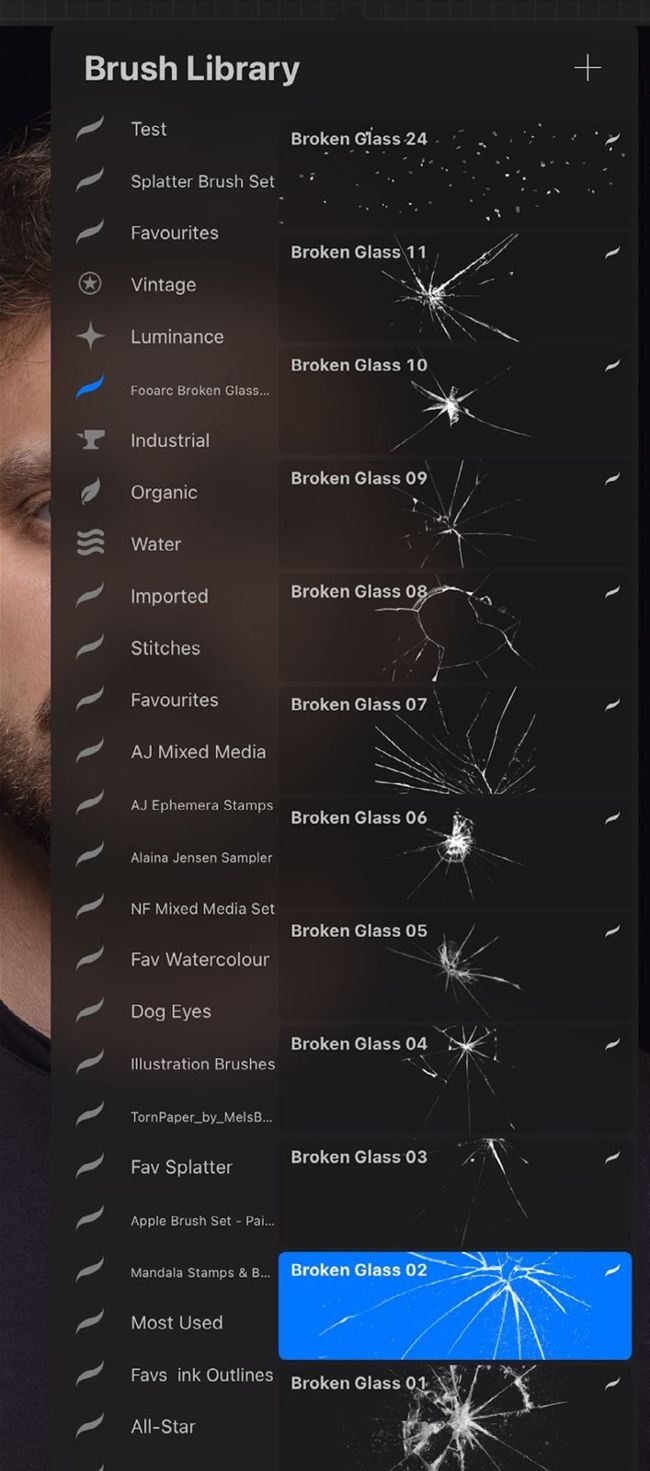
In this step-by-step tutorial, I’ll show you how to create this cool broken mirror effect using a single photo of a face and some custom stamp brushes by Fooarc, who also gave me the idea for this tutorial.
I’ve also provided a workaround (see the Workaround section using Cracked Glass Photo option at the end of this tutorial) where you can use a photo of cracked glass from freepik.com or your own photo. All the links are provided below.
STEP 1: SOURCE PHOTOS AND DOWNLOAD BRUSHES
You’ll first need to find a suitable face photo for the image’s main subject. Try to find a portrait with an evenly-lit face (but not too bright or overexposed) with a dark background so that the light parts of the mirror image we place over the top will show up.
Download Portrait Image

Photo by master1305
Download Broken Glass Image
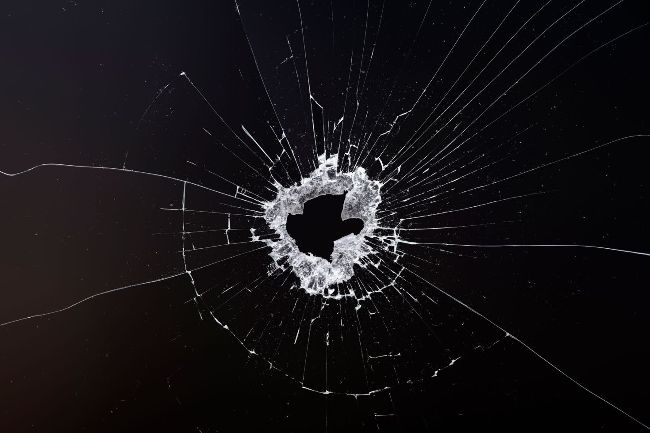
Photo by Rawpic.com
Download the Fooarc Brush Stamp Set for Procreate
Optional image: Use this photo for the workaround section only