BLENDER
Exploring Blender’s features and tools
Delving further into Blender, this month, Michael Reed uncovers some impressive-looking features that are surprisingly easy to get started with.
Credit: https://www.blender.org
Part Three!
Looking for parts one or two? Turn to page 62
OUR EXPERT
Michael Reed has been playing around with Linux since first trying Slackware back in 1996..
QUICK TIP
If you’re working with animation or physics, don’t forget to set the Timeline back to frame 1 before you make any changes to objects. Of course, this isn’t the case if you really want to change the position (or other parameter) of an object at a later stage of the animation.
B
lender often feels like five pieces of software in one package. While it’s amazing that it has so many facilities, it does mean that every time you think you’ve acquainted yourself with the basics, you then discover something else it can do. For this tutorial we’ve chosen Blender features that might sound intimidating (such as physics simulation or shader programming) but that are surprisingly easy to get up and running. You can take a stab at the sections individually, but you’ll probably get more out of the tutorial by following them in order.
As ever, you’ll often want to start with a blank scene when working with something new (File>New>General). Unless we mention that we’ll be working with the default cube, delete it before you start work (select with left mouse button and then press Delete).
Working with text
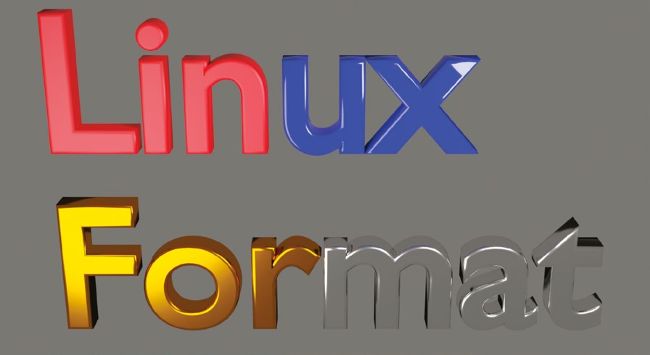
Blender has facilities for working with 3D text that you could use to create a 3D logo. You could even animate it. Spinning metallic text, here we come! Start by adding a text object (Add>Text). The first problem is that the text is flat against the floor when first created. As it’s just a standard Blender object, prop it up vertically using the Object Properties tab in the Properties Browser on the lower right-hand side of the screen. To do this, change the Rotation X field in that panel to 90.
If you want to edit the text, go into Edit mode by pressing Tab. From here, you edit the text directly on screen by typing in the normal way. This is particularly neat because you get real-time visual feedback as you’re editing, and this holds true even when we’ve added extra features to the text. Speaking of which, let’s explore altering the characteristics of the text object to move beyond a flat piece of text.

You can highlight part of the text object and assign a different material. This is true for most object types in Blender.
Press Tab to go back into Object mode, as we want to alter the text as a whole rather than the individual characters. Text objects have their own special tab in the Properties Browser, denoted by a lowercase ‘a’ icon; It’s fairly easy to find, although, confusingly, it’s labelled Object Data Properties. In this panel, open the Geometry subsection and increase the Extrude value to around 0.06m, giving a more substantial look to the text. Increase the Depth value in the Bevel subsection to 0.02m to round the edges of the text characters.