TRADE SECRETS
Bow tip replacement – part two
Makers reveal their special techniques
How to shape the new tip after having replaced the ebony and ivory
BY JENELLE STEELE Luthier and bow maker based in Portland, OR, US
In the first part of this article (Trade Secrets, July 2024), I shared my method for replacing an old tip with new ebony liner and ivory. In this second part I show how I shape the new tip to match the existing head while preserving the original pernambuco. I also share some shaping concepts that I like to keep in mind when carving a new beak and mortise.
Roughing out the back and sides of the new tip
ALL PHOTOS JENELLE STEELE
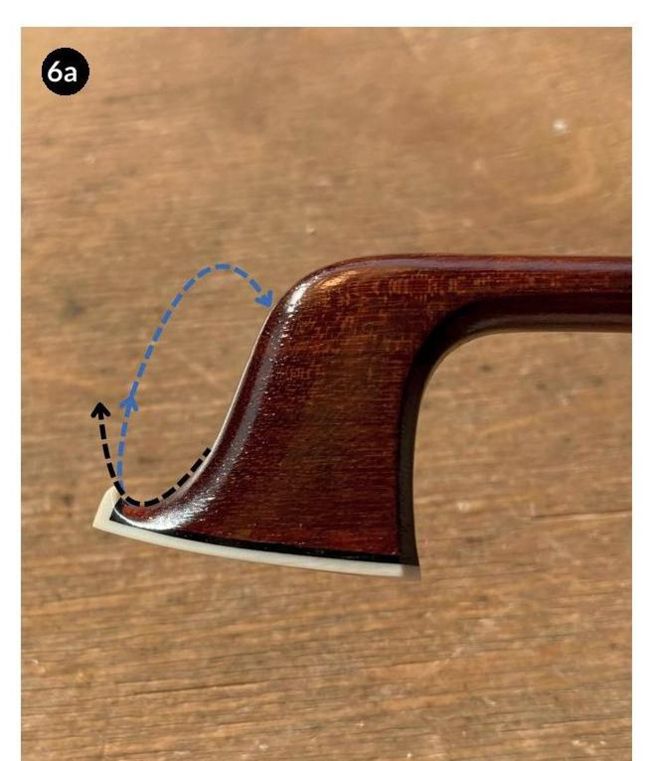
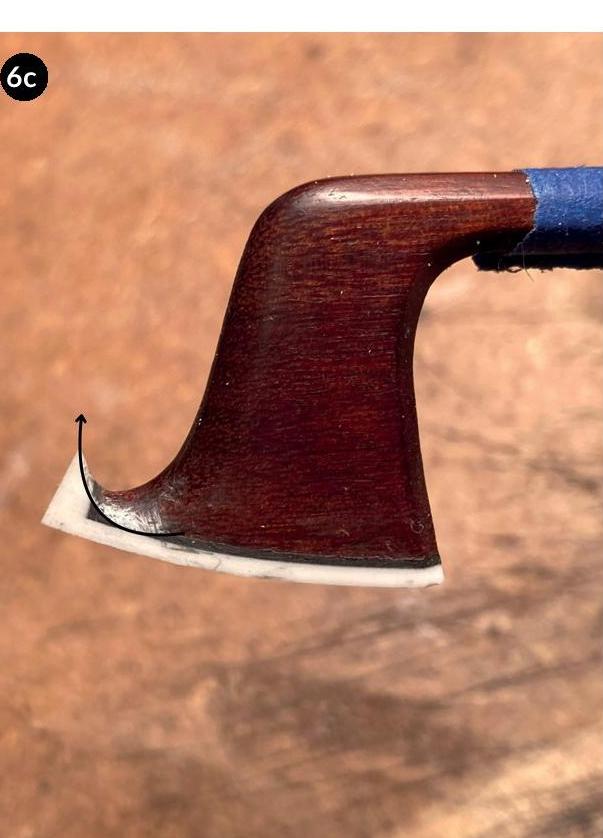
5 Using a jeweller’s saw and supporting the headplate against a block, I saw off the back of the headplate closer to the head, leaving it 1–2mm proud (5a). I use a half-taped file to shape both sides of the new tip. The taped part of the file rests lightly against the surface of the head and also against my thumb, which acts as a guide to control where my file is cutting (5b). This way, I can remove only the tip material that’s proud of the head without marring the surface of the head.
I mark the tip with graphite frequently so I can see exactly where my file is removing material. When I’m getting close to the pernambuco, I carefully remove the super glue around the head with a knife to see how proud the tip plate is from the head. At this stage, I leave it a little proud.