BASILISK II
Emulate classic Apple computers
Les Pounder goes back to his distant college days and reveals how to emulate the Apple desktop machines that he used for work and play.
Credit: https://basilisk.cebix.net
OUR EXPERT
Les Pounder is associate editor at Tom’s Hardware and a freelance creative technologist. You can read his blog at bigl.es.
QUICK TIP
HyperCard has a text-based language – HyperTalk. Click Objects>Button Info>Scripts to edit the HyperTalk code to quickly add features. The syntax is easy to read and is more akin to reading instructions than code.
Apple Computers was founded on 1 April, 1976, by college dropouts Steve Jobs and Steve Wozniak. From these humble beginnings we now have a brand that is just as much about style and design as it is computing prowess.
Apple Computers’ first computer was the Apple I. In 1977 the Apple II was released and it soon found its niche in US schools. After this we saw the Apple Lisa (1983), a merging of the Apple II aesthetic with what would become the Macintosh range of machines. Sadly Lisa was a flop, but in 1984 we saw the introduction of the Macintosh range with the Macintosh 128. This small machine changed the fortune of Apple and it started a range of Macintosh machines that exists to this day, in the form of the iMac. In this tutorial we’ll take a look at the classic era of Apple Machines.
An Apple a day
There are many ways to emulate an Apple machine, and one of the most popular is to use Basilisk II which is an emulator for Apple machines using the Motorola 68000 series CPUs. This was the pre-OS X era, an era where this author was at college and using System 7.5 OS and Netscape Navigator to go online.
To install Basilisk II on our Ubuntu machine we downloaded the latest release from https://launchpad. net/ubuntu/bionic/+package/basilisk2, then opened a terminal in our Downloads folder and installed the package using the following: $ sudo dpkg -i basilisk2_0.9.20120331-4_amd64.deb Once installed, open the Basilisk II application: $ BasiliskII
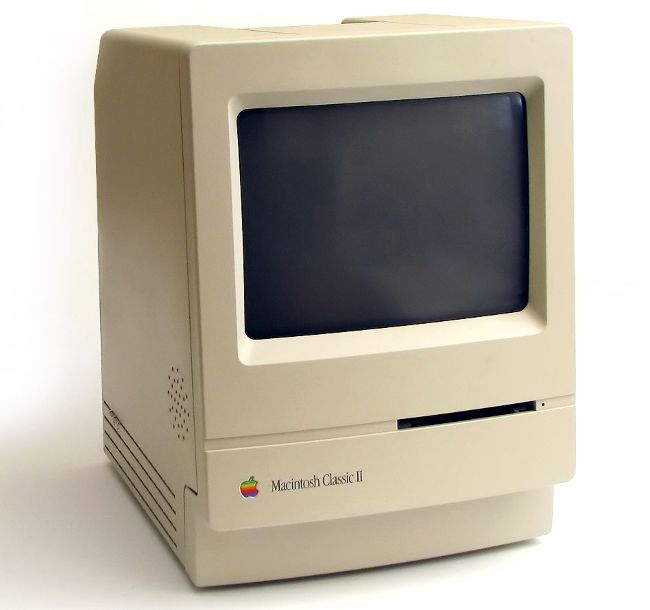
The Macintosh Classic design existed over multiple generations of Apple desktops.
CREDIT: Danamania, CC BY-SA 2.5, https://commons.wikimedia.org/wiki/File:Macintosh_Classic_2.jpg
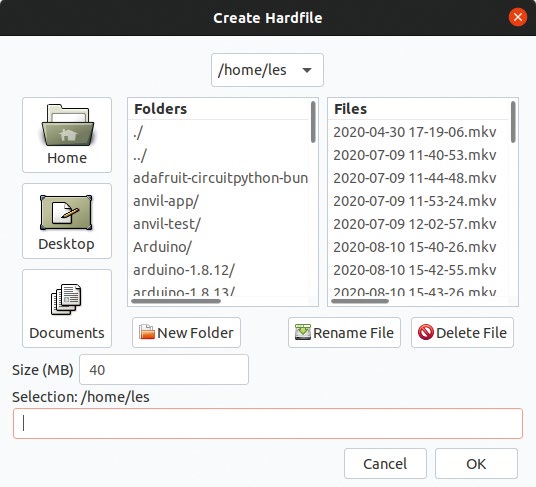
Creating a Hardfile gives us a virtual hard drive on which to install the OS. We only need 500MB for a power system.
We immediately see the Basilisk Settings page which has a series of tabs used to group settings by function. Go to the Memory/Misc tab and in the ROM file setting instruct the program where to find a ROM file for the Mac that we’d like to emulate. Typically, these ROMs are obtained by dumping them from real hardware, but they’re available online. Remember that ROMs are under copyright. Point the ROM file setting to your ROM and then set the RAM, model and CPU type for your emulation.
The next step is to go to Volumes and click Create. Navigate to a folder where you wish to create a Hardfile – this is a hard drive image saved as a single file. Name the file as you wish (we chose harddrive), and set the size of the drive in MB before clicking OK. Remember that in the System 7.5 era of computers, a 1GB drive was still a dream to most users. Around 512MB is plenty for an install.