Networks and internet
Fix and tweak your network settings
LINUX BASICS
Nick Peers uncovers the mysteries of how to set up, troubleshoot and improve network performance in Ubuntu and other distros.
Part Six!
Don’t miss next issue, subscribe on page 16!
OUR EXPERT
Nick Peers can’t believe how far networking has come in Linux in his 20-odd years using Ubuntu. You youngsters don’t know how lucky you are…
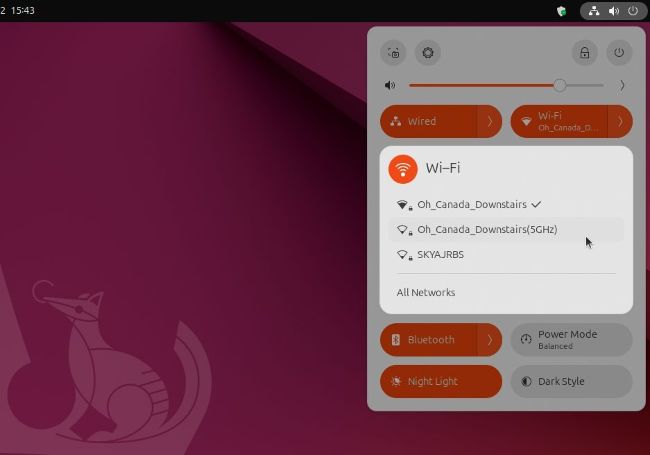
You can quickly toggle your connection on or off plus switch networks from the comfort of your desktop.
These days, connecting your PC to the network is usually a simple plug and play affair – T especially when connecting via Ethernet cable. Each iteration of Ubuntu – particularly when you jump from one LTS version to the next – refines things that little bit more, and it’s all too easy just to jump straight back into computing and forget about the technology that enables you to surf the internet and add new software with just a few clicks. But what happens if something goes wrong or you need to make changes to your network setup? Read on to discover how to access Ubuntu’s networking tools and troubleshoot problems with your Wi-Fi connection – including poor performance due to network congestion from your neighbours.
Network settings
Your network is front and centre on the Ubuntu desktop – it’s one of the three system icons that appears in the top-right corner of the Gnome desktop. Click this to bring up the system flyout and you’ll see Wired or Wireless buttons (or both) appear. If the connection is enabled and working, it appears orange; otherwise it’s greyed out.
Click the button to quickly enable or disable the connection, or click the > button to view all available connections – in the case of Wired, your Ethernet connection will be shown along with a Wired Settings shortcut that takes you to the Network section of Settings. Expanding Wireless reveals a list of all Wi-Fi networks within range, in addition to the one you’re currently connected to, enabling you to easily switch. You’ll also see an option to access All Networks, which takes you to a separate Wi-Fi section in Settings.
QUICK TIP
When setting a static IP address for your PC, it’s important not to choose one already in use by another device. Use a scanning tool such as Angry IP Scanner (https://angryip.org) to see what IP addresses have been allocated.
Wired connection
If you click Wired Settings, you’re shown a list of connections: Ethernet, VPN and Proxy. Again there are quick-fire on/off toggles for existing connections, but you’ll also see a + button next to each for setting up new connections from scratch, plus a settings button to view and tweak aspects of any existing connections. Let’s start with your Wired connection: click the settings button to reveal a multi-tab window opened to the Details tab, revealing key information about your connection. The link speed refers to the current speed of your connection – if you’re connected via a standard 1Gb/s Ethernet cable, it’ll be 1,000Mb/s, for example.