Further options for outputting raw files
Wendy Evans looks at other processing and output options using Affinity Photo 2
Before
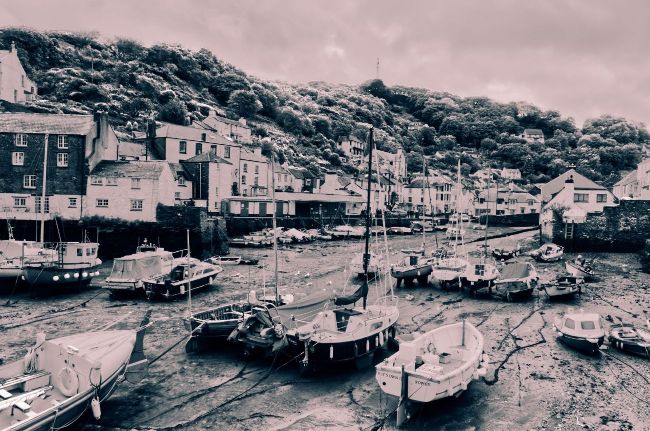
After developing your raw file, look at black and white and split toning processes.
Wendy Evans
After
Download your files
www.digitalcameraworld.com/dc301
Download your project files from the folder titled ‘Affinity_Raw Format Options’.
Four Macros for Affinity Photo 2
No video tutorial this month
Project files to follow along
In issue 299 (October), I looked at developing raw files in Affinity Photo. Reader Alan Wrisberg wrote I in to ask about more output options (see Letters, page 128), so that’s what we’ll do. Referring to that tutorial, I’m using the same start image and have followed the same steps to get to this point. First, we’ll look at a couple of extra developing options for the raw file, then we’ll examine how to save and output images as various file types and using different profiles.