BLENDER
REAL-TIME TEXTURE PAINTING IN BLENDER
Learn how to use Blender to set up a detailed, layered shader that you can paint in real time
AUTHOR
Sean Kennedy
Sean Kennedy has been a VFX artist since 2001, working for studios such as Rhythm & Hues and CoSA VFX. He also shares tutorials and tips for open-source VFX software at www.openvisualfx.com
FOLLOW THE VIDEO
http://bit.ly/3Dworld-blender
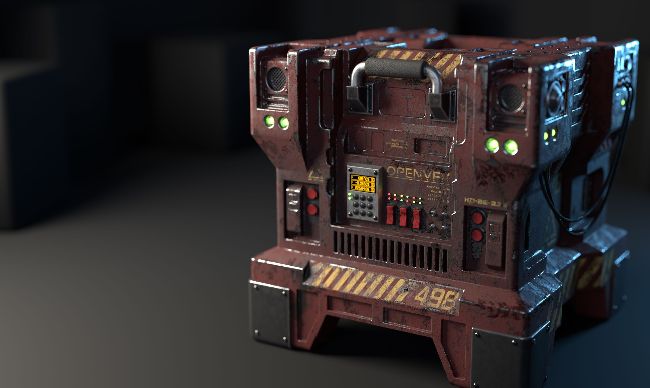
SCI-FI CRATE Using only a simple setup, we can paint a realistic grungy texture directly in Blender
I love the look of grungy, worn sci-fi props, and having recently spent some time brushing up on my hard-surface modelling skills, I wanted to share how easy it is to set up a really good-looking shader in Blender, one that you can actually paint in real time to get the exact look you want.
We’re going to create a basic dirty paint shader and paint on the model directly to reveal the metal underneath. Then we’ll work with the shader nodes so that the painted map can also create an undercoat of a different colour and a bump map. After that, you can just have fun painting all that damage in real time! Finally, we’ll take a look at how easy it is to add painted decals.
Keep in mind this is not a one-click solution, but the basic paint setup is very simple. We’ll be using Blender’s Eevee viewport, which will keep everything real time, and for final rendering, I’d advise using Cycles, which will really crank up the realism.
For this tutorial, we’re just going to focus on the main body of a sci-fi crate, but for the final image, I used the same technique on a few of the other model parts.
The goal here is to introduce you to the fact that Blender can paint complex shaders almost as well as any other program out there, and to show you just how easy it is to set up.
DOWNLOAD YOUR RESOURCES
For all the assets you need go tohttp://bit.ly/3Dworld-blender
01
QUICK AND EASY
UV UNWRAPPING
With the main body of the model selected, go to the UV Editing workspace using the tabs at the top of the UI. It should be in Edit Mode automatically now, but if not, simply press Tab. Press A to select everything, then U to bring up the unwrap options. Select Smart UV Project, set the Island Margin to 0.05, and then click OK. You should now see your unwrap appear in the left panel.

01
02
START CREATING
THE SHADER NODES
Click on the workspace for Shading. This is where we'll work on the shader nodes. With the main body of the crate still selected, press the New button above the node graph to create the shader. Name it something useful like crate_ main_body. Now is also a good time to turn on a helpful add-on for working with nodes. Under Edit> Preferences>Add-ons, search for Node Wrangler and click on the little checkbox to activate it. Then close the Preferences window.