HOW TO BUILD A CANAL

PHOTOGRAPHY:PETER MARRIOTT
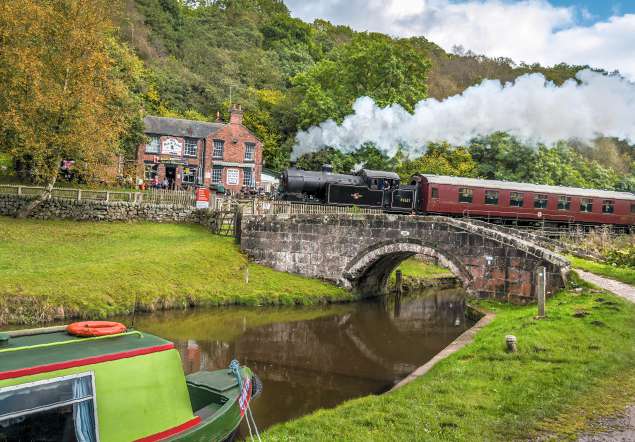
As lockdown finished, my wife and I took various local excursions to walk parts of the Grand Union Canal, which got me thinking that I should have a go at making a short piece of it in 4mm scale. I then recalled I had a Skaledale canal bridge that I’d had in stock for more than a decade and I now had noalternative but to make this my next project!
There are more than 4500 miles of navigable waterways in the UK and because in general canals were built on the flat, bar a few locks, they were a railway builder’s dream.
Not to mention that when the railways replaced the canals as the premium source of goods transportation, the businesses remained in the same place, so the railway had to start and finish in the same place as the canal. Because of this, canals and railways were found very close to one another and often appear on model railways.
ALAMY
To build up the sides of the canal I used foam sheets, which are easy to work with and light in weight. These work really well when intending to build the water feature separately and then incorporate it into your layout, as it keeps the weight down and makes it easy to move.
Even a small area of water is fun to make and adds another dimension of realism. There is a good range of products to make the water, water effects and the waterside plants. To make a canal 55cm long and 6cm wide cost me around £5, including the water fluid, paints and plants. As with many projects, I didn’t use all of the product available in each pot so there is some left over for another project.