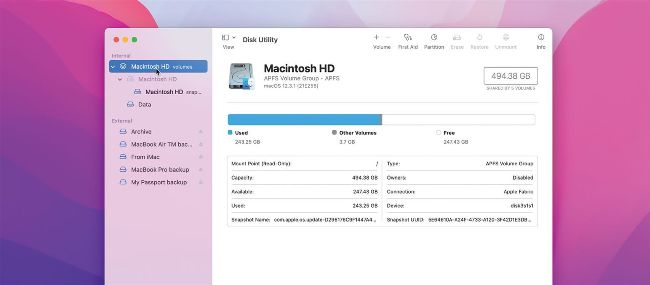
Get started with Disk Utility
Disk Utility is incredibly useful and capable. We’ll show you how to get the most from it
WRITTEN BY KENNY HEMPHILL
ASK A GROUP of Mac users for their favorite built–in app and you’d be hard pressed to find many that would say Disk Utility. Yet, it has dug many of us out of trouble, fixed problems that looked terminal, and enabled us to do all manner of things with drives and volumes that would otherwise require investing in third–party software.
Despite having a simple interface and being easy to use, Disk Utility’s use of some arcane terminology often puts people off using it. It shouldn’t. Whether you want to erase a drive, force an external drive to mount, create a partition (or container in APFS, more about that later), or fix a drive or volume that’s misbehaving, it’s straightforward to do in Disk Utility. Disk Utility is also a key component of macOS Utilities — the options that appear when you boot your Mac in Recovery mode. Sometimes, if your Mac won’t boot normally, booting in Recovery mode and repairing the disk using Disk Utility is all you need to do.
Here, we’ll take you through how to use it and explain that terminology; by the end, you won’t just know what you’re doing, but why.

You can run Disk First Aid on any drive, but it will only attempt to repair drives that you haven’t booted from.