Recognising our northern accents will tax this poor Pi audio model.
Recognising our northern accents will tax this poor Pi audio model.
We are using the project found at
https://github
. com/petewarden/spchcat – it was quite a
sensation when it was released originally and tends to work reliably. Voice recognition has since evolved, of course, but that does not mean that the product at hand is bad quality. The first thing we have to do involves downloading support libraries via the following commands:
$ sudo apt-get -qq install -y sox libsox-dev libpulse-dev make gcc g++ wget curl libc6:armhf
$ sudo dpkg --add-architecture armhf
$ sudo apt-get -qq install -y pulseaudio
The product ships as a precompiled binary, which is only provided as a 32-bit file at the time of writing, so the invocation sudo dpkg --add-architecture armhf is required. This informs our 64-bit version of Raspberry Pi OS that it also needs to consider 32-bit binaries.
The deployment file, which is about 1GB, must be downloaded from GitHub. Our Pi experienced significant hiccups when trying to obtain the file using Curl. Instead, open your browser and go to the GitHub repository URL. Look for the Latest .Deb Installer Package link and click it to start the download process.
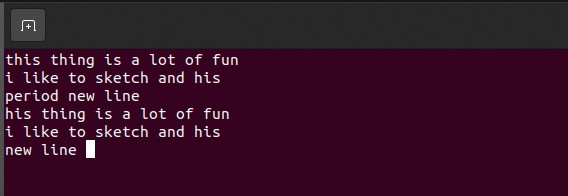
Given that some of the LXF team have strong accents, the transcription results are pretty good.
The deployment of the program might take a few seconds; using the precompiled binary version is preferable to a manual compile, as the vendor bundles it with various language models. For a manual compile, the models need to be downloaded by hand.
Next, open a command-line window on the Raspberry Pi and enter the following command to start deployment via the package manager:
$ sudo dpkg -i ~/Downloads/spchcat_0.0-2_armhf.deb
DLL hell for Linux
Serious users of Windows-based operating systems know the concept of DLL hell well – it refers to technical trouble caused by the presence of mutually incompatible dynamic link libraries on one workstation. In the case of our Raspberry Pi installation, perform a dry run via the following command:
$ spchcat
Should you have followed our advice, the program execution fails with this error: spchcat: error while loading shared libraries: libpulse.so.0: cannot open shared object file: No such file or directory
This can be remedied by entering the following:
$ sudo apt-get -qq install -y libpulse-dev:armhf libpulse-dev
$ sudo apt-get -qq install -y libsox-dev:armhf libsox-dev
In the interest of maximum compatibility, packages are loaded in both the normal and suffixed version. This way, the Raspberry Pi OS installation takes in both the 32-bit and 64-bit versions.
At this point, a reboot is required. After that, the program can be tested. When launched, it shows a screen displaying a status message. As actual text is input by voice, a display similar to the one shown (on the left-hand page) crops up.
THE EAR OF OPEN SOURCE
Just as in the case of many other AI applications, maintaining and/or providing high-quality recognition models tends to be one of the largest problems in this field. In voice recognition, the situation is especially difficult – not only should models accommodate the thousands of languages known, but in addition to that, people who speak a second language with the accent of their first also need to be recognised.
While companies such as Lernout & Hauspie solve this by making the user read a few known sample texts and then using those samples for parametrisation, the application used in our guide takes a different approach.
The Mozilla team – best known for its web browser – has, for some time, invested significant amounts of engineering resources into voicerelated tasks. One of the results of this work can be found under the URL https://commonvoice.mozilla.org/en – the Common Voice project contains voice samples that are uploaded by volunteers using their browser and the (hopefully high-quality) microphone connected to their workstation.
Our mention of the project is not pure filler – should you want to help open source voice-recognition technology, providing a voice sample is a fantastic and low-effort way to achieve this commendable goal. Not only that, but the database found there can also be used to train various other custom speech recognition models for fun and posterity.
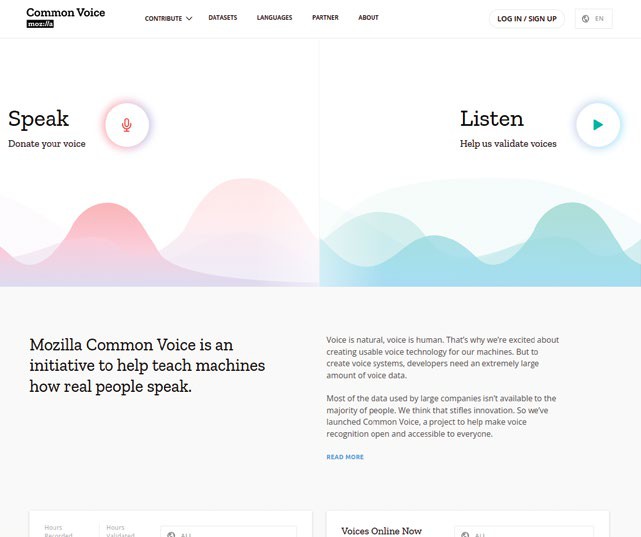
A wide range of samples are available via Mozilla.
Take it apart!
Students of the history of voice recognition will remember the problems of tokenisation. Careful observation of the behaviour of the program reveals something similar. Particularly when fed input from a USB microphone, quite a bit of time passes before the output is stabilised. This is disadvantageous for all application scenarios where the engine output is to be recycled via another program.
A first attempt would involve a simple pipe, as per the invocation spchcat | cat . In theory, this program should work well; in practice, sadly, it does not. The reason for this is that the utility often squirts out badly formatted text – in many cases, the final result of the previous translation becomes available only after the user has finished speaking the next sentence.
As a first attempt to work around this, a Python program such as the following might be appealing:
import io
import subprocess
proc = subprocess.Popen([“spchcat”],
stdout=subprocess.PIPE)
for line in io.TextIOWrapper(proc.stdout, encoding=”utf-8”): # or another encoding print(line)
In theory, this code should solve the problem – it invokes the utility and then parses its output. However, it does not work as intended – just as before, this version also exhibits significant lag.
Work-shy Pi
While a modification of the program structure of Spchcat is possible, a more convenient approach is available, such as the following:
$ spchcat audio/8455-210777-0068.wav > /tmp/ transcript.txt
This motivates the utility to take a WAV file and parse it as a whole – this works without delays, as the input field is fully limited. Given the availability of this API, a different approach can be chosen. Why not simply record when invoked, and then pass the WAV file to the TTS engine to process?
This job requires a way for the Python engine to access the Raspberry Pi’s sound hardware. This is most easily accomplished via the PyAudio module, which has detailed documentation under the URL https://people.csail.mit.edu/hubert/pyaudio/ and can be considered a quasi-standard part of Python.
The main challenge involves installation; because PyAudio is tightly integrated into the operating system, deploying it via the Pip embedded compile process is likely to fail. A smart approach involves using the package sources that belong to the distribution:
$ sudo apt install python3-pyaudio
With this out of the way, we can proceed to developing the test harness. It is, by and large, a copy of the example found on the PyAudio website:
import wave
import sys
import pyaudio
CHUNK = 1024
FORMAT = pyaudio.paInt16
CHANNELS = 1 if sys.platform == ‘darwin’ else 2
RATE = 44100
RECORD_SECONDS = 5
with
wave.open
(‘output.wav’, ‘wb’) as wf:
p = pyaudio.PyAudio()
wf.setnchannels(CHANNELS)
wf.setsampwidth(p.get_sample_size(FORMAT))
wf.setframerate(RATE)
stream =
p.open(format=FORMAT
,
channels=CHANNELS, rate=RATE, input=True)
print(‘Recording...’)
for _ in range(0, RATE // CHUNK * RECORD_
SECONDS):
wf.writeframes(
stream.read(CHUNK)
) print(‘Done’)
stream.close()
p.terminate()
Running this version of the program reveals status information. Furthermore, the audio file is put in the current working directory – it contains whatever audio is picked up during the program execution. This knowledge then permits us to modify the above-failing automatic processor:
proc = subprocess.Popen([“spchcat”, “output.wav”],
stdout=subprocess.PIPE)
for line in io.TextIOWrapper(proc.stdout,
encoding=”utf-8”): # or another encoding
print(line)
Popen is given an array consisting of two strings: the first designates the binary to be executed; the second passes in the parameters the binary needs. The rest of the program is pretty much the same.
TALKING BACKWARDS
“In many cases, the final result of the previous translation becomes available only after the user has finished speaking the next sentence.”
Further listening
Our binary package is based on a product that has been eclipsed by the latest research results available to the API field. A more modern library is found at https://github.com/coqui-ai/TTS – at the time of writing, however, there is no handy wrapper available.
Another interesting improvement involves the use of an external button. This way, the user could push and hold the button to enable voice recording, which promptly ceases when the button is released.