MASTERCLASS
Create amazing documents
Make top–quality documents with Apple’s amazing iWork applications — Pages, Numbers, and Keynote
WRITTEN BY IAN OSBORNE
APPLE’S FAMOUS iWORK applications are powerful, user–friendly, and free. Available on Mac, iPad, and iPhone, and across all platforms online via iCloud.com, the three iWork apps offer an excellent suite of productivity software.
The individual iWork apps are Pages, a word processor and desktop publisher; Numbers, a powerful spreadsheet; and Keynote, for presentations. They can open their equivalent Microsoft Office apps — Word, Excel, and PowerPoint — and even export documents to MS Office formats. Each app has a huge range of exciting templates, so you can get started quickly and easily. When you’re ready to take things further, they have powerful tools to help you create dynamic and informative documents.
They’re great for collaboration, too. You can invite others to work on an iWork document with you, and changes are made in real time. A single shared document can be worked on by up to 100 people at a time! Watch out for Writing Tools, too — a new Apple Intelligence feature that helps you along with your writing in the Pages app.
It’s amazing what you can do with Pages, Numbers, and Keynote, and with our help, you can do a little more. So let’s get started...
Make a doc shine with Pages
Produce awesome newsletters, flyers, and more
PAGES IS AMAZING. First released in February 2005, Apple’s illustrious app has developed into a very powerful word processor. It’s packed with useful tools and features, so let’s take a look at them.
Format your text using the Paragraph Styles window. You can create new styles, too.
1 Sidebars
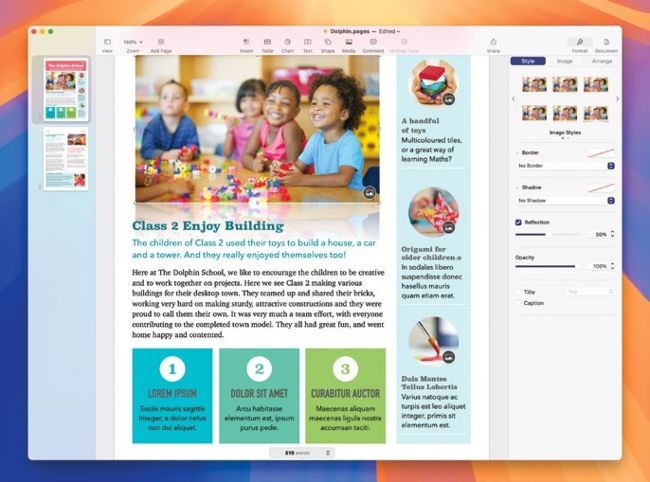
In the top–right corner of a Pages document’s toolbar, there are two buttons: Format and Document. Click on one to see the Format or Document tools. To hide the right–hand sidebar for distraction–free writing, click on the button that’s currently active.
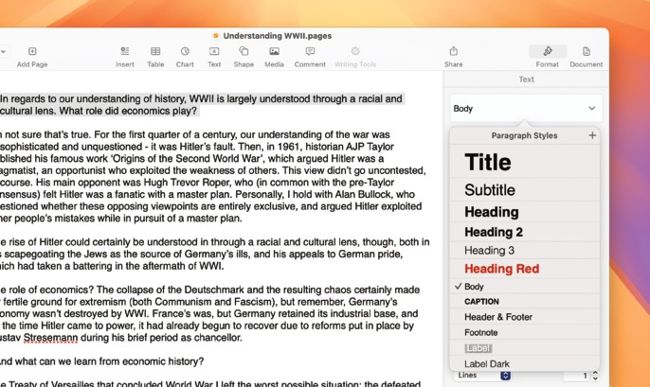
2 Paragraph styles
Highlight a paragraph or lengthier piece of text, and in the Format sidebar, click the top option, and you will be able to change the paragraph style to one of those offered in the window.
You can easily create new paragraph styles by formatting the text how you want it, highlighting it, and in the Paragraph Styles window, clicking the “+” symbol (top right).
3 Fonts
In the Format sidebar’s Style tab, the top section is labeled Font. Here, you can change the font using the pull– down menu, with a further pull–down menu available for versions of that font, such as Regular, Bold, Light, and so on; different fonts have different options here. You can also change the size of highlighted text — or the next text you type if none is highlighted — using the point size window under the font pull–down menu. You can also do this by pressing Cmd+[+] or Cmd+[–].
In Page Layout mode, you have to use boxes for your content.
4 Character styles
Click Character Styles, and you can add formatting such as Strikethrough, Underline, and Italic to highlighted text. You can add a new style by formatting a piece of text yourself, highlighting it, and pressing the “+” symbol found here. The buttons above Character Styles give easy access to the most popular ones.
5 More text options
Click the gear icon above Character Styles for advanced options, such as Character Spacing, Baseline Shift, Ligatures, and more.
You can add columns to your text document, and add background colors for individual paragraphs.
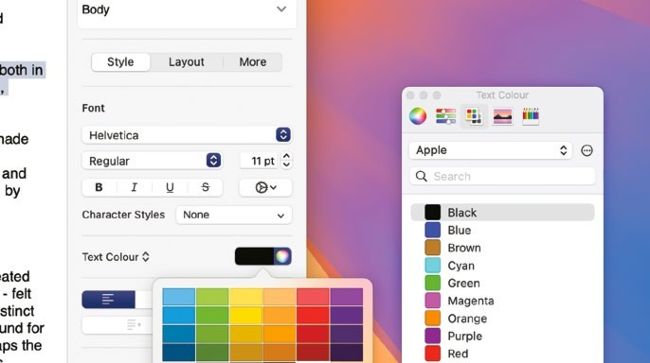
6Text color
Click the colored box next to Text Color to change the color of your text. Click the words Text Color for options such as gradient and image fills, which are used for big, blocky headlines.
7Justification & indents
The buttons under Text Color change how the text is justified; that is, whether it leaves a ragged edge on the right, left, both, or neither. You can also highlight a piece of text, and click one of the buttons underneath these to add or remove an indent.
8 Spacing & lists
In the Spacing section, you can change the gaps between the lines or paragraphs. The Bullets & Lists option enables you to make lists with bullet points, dashes, numbers, and more in front of each paragraph.
9 Drop caps
Check the box here, and the first letter in a highlighted paragraph is turned into a drop cap. Click the icon next to Drop Cap to change its style.
Click the Text Color box to change the color of the text, or the color picker icon for this window.
10 Columns
In the Format sidebar’s Layout tab, click the chevrons next to the Columns number to have your text arranged in columns. The chevrons increase and decrease the number of columns in question. Check the box marked “Equal column width” to make the columns the same size, or uncheck it and edit the numbers in the table above it for columns of a different size.
11 Paragraph borders
You can frame paragraphs by highlighting them with a border. Use the Paragraph Borders pull–down menu to change the line thickness on offer. You can change the border line’s color, point size, and offset, and use the buttons to set whether the border line should be shown above, below, to the right and/or to the left of the paragraph.