Intelligent machine fun
Use the power of machine learning and make an image-classification bot.
F or our final project we’ll try something a bit more complicated. We’re going to leverage the extra grunt of the Pi 4 (this will work on a Pi 3 but it won’t be fun) and the
TensorFlow
machine learning software to enable the Pi, via a camera, to classify (or attempt to classify) whatever we show it. We used the High Quality camera module, but the basic one will work fine. We’ll be using the
TensorFlow Lite
package for Python, which enables lower-powered devices (or anything not equipped with the latest tensor processing chiplets) to run pre-trained models without relying on the cloud.
It’s easy to connect a camera to your Pi. just use the ribbon cable (the blue side faces towards the clamp at both ends). It’s possible to clamp this in squint which will result in errors, so try to avoid that. The camera should be configured automatically in recent editions of Pi OS, but if not you can do so from the raspi-config utility mentioned earlier.
Installing TensorFlow Lite is easy. Start with a desktop install of Raspberry Pi OS – we’d recommend the 64-bit version for this. Then open a terminal (from the Accessories menu) and run:
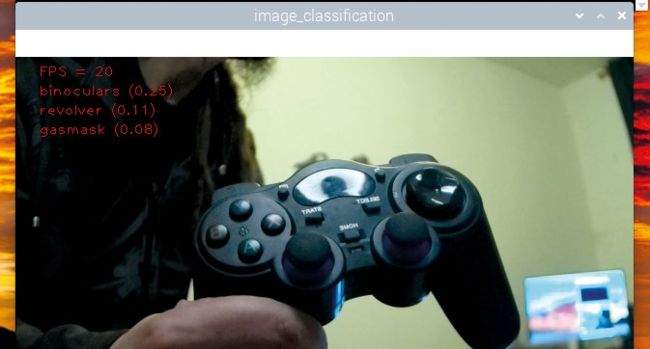
What on earth would we be doing with a revolver, a gas mask and binoculars? Imagine if this kind of AI was in use today, oh wait…
Now we can fetch the examples:
The last command will take a while as all the Python wheels are arranged and put in the right places. Ideal cup of tea territory. Now check the box (below) about enabling the legacy camera interface. Once you’ve rebooted and opened the terminal again you can run: