BLENDER | PHOTOSHOP
CREATE ATMOSPHERIC SCI-FI CITYSCAPES
Develop a steady and effec tive workflow with a few easy tips for Blender and Photoshop
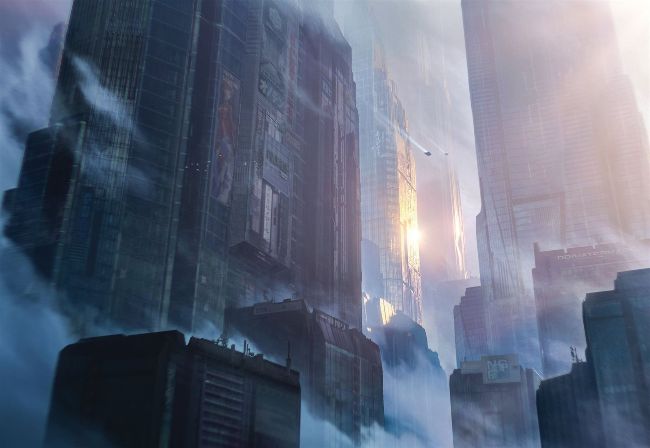
MEGA GHOST CITY This city was built for people who wanted to pursue their dreams, a city filled with possibilities. At least that’s what the advertisements said…
This image is the result of a long break from personal art. I thought it was time to pick it up again and challenge myself with a new sci-fi piece. Most cyberpunk and sci-fi images are filled with neon-lit streets and glowing windows. Don’t get me wrong, I’m a sucker for those kinds of images and made a fair portion myself, but now it was time for something different.
A certain scene from the movie A.I. Artificial Intelligence came to mind. I used to watch this one a lot as a little kid. In one of the last scenes you see David, the protagonist, and his friend flying over the ocean through a flooded New York. Besides a few broken buildings, most were intact but uninhabited. A flooded ghost city. This scene had a big impact on me when I was young because it looked so massive, cold, ominous and otherworldly, even though it was just New York.
During the process of making this artwork, I was aiming for that exact mood but with my own sci-fi twist. In this tutorial I’ll take you through my workflow. I’ll show you what works for me and hopefully for you as well. I’m not the best 3D modeller, texture artist or renderer, but I discovered a simple way to use Blender and its real-time render engine Eevee to my advantage when making concept art, matte paintings and other environmental illustrations.
To follow this tutorial, you’ll need basic knowledge of Blender and some intermediate knowledge of Photoshop, mainly on photobashing and colour matching and grading.