CREATE STRIKING CHARACTER FAN ART
The Pipeline
Practical tips and tutorials from pro artists to improve your CG skills
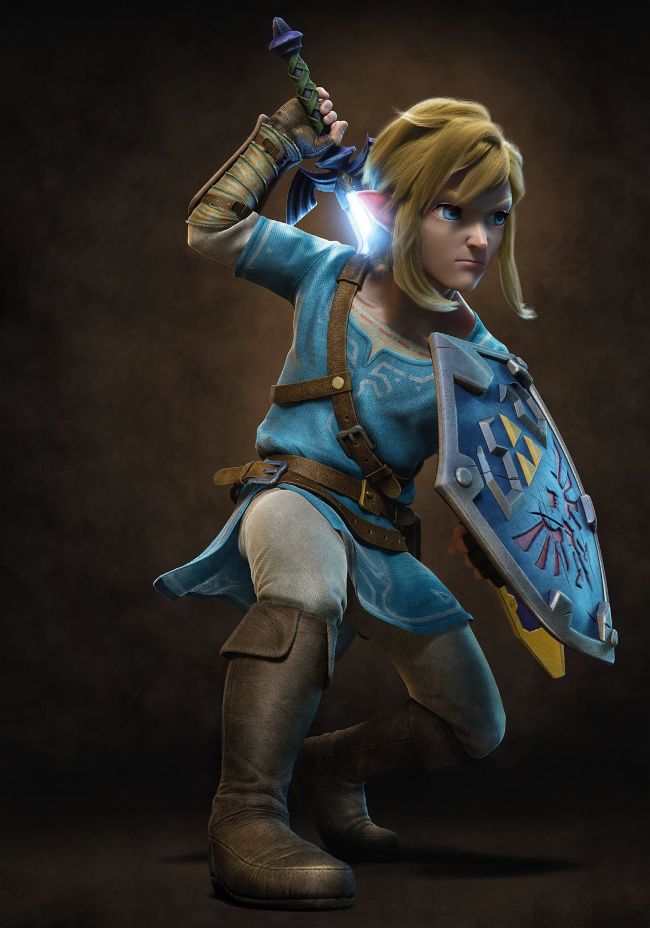
LINK This is my fan art of Link from The Legend Of Zelda: Breath Of The Wild. I tried to create a slightly more realistic version while keeping key design features of the original
In this tutorial, you will learn a complete workflow for designing 3D character fan art. This process is more focused on the creation of the final image rather than an animation-ready model; this will allow you to skip or just simplify long and technical steps such as retopology, UVs and rigging, and achieve the final look for your model in a shorter time.
The minimum requirements for this tutorial are a basic knowledge of ZBrush, plus good knowledge of a poly modelling software of choice and Photoshop.
After this tutorial you will be able to showcase your sculpting more effectively and give your characters a solid final look.
Let’s start!
AUTHOR
Claudio Amoroso Claudio Amoroso works as a lead modeller at Rainbow CGI. Prior to that, he studied traditional arts, played videogames and tried his best to improve his skillset, which he still does to this day. www.artstation.com/ claudioamoroso
DOWNLOAD YOUR RESOURCES
For all the assets you need go to https://bit.ly/3D-world-games
01
SCULPT THE HEAD
To begin, we need to start from a sphere with DynaMesh activated. At first, you don’t need to worry too much about the proportions of your reference, just start by blocking out the main shapes of a generic head. Next, insert two spheres as subtools to simulate the volume of the eye bulb, which is going to help you define volumes of the eyelids.