Build a Mac server
Discover how to set up an old Mac to run essential services – from media streaming to password management – from your home network
Written by Nick Peers

Image credit: Apple Inc
Do you have an old
Macgathering dust somewhere in your home? If so, why not press it into service as a dedicated server? As the name implies, a server provides services through your network, from a simple centralised file-sharing repository to full-blown tools such as media streaming, password manager, VPN server, cloud storage, home surveillance, and so much more.
In this feature we’ll show you how to prep your old Mac for its new role. You’ll wipe it clean and upgrade it to the latest version of macOS – even if it’s no longer officially supported by Apple. We’ll also highlight useful hardware upgrades – including extra memory, Ethernet add-ons and external storage, and reveal how to set it up for remote unattended access, so it can be connected directly to your router without needing a monitor, keyboard and mouse.
We’ll then shift our focus to looking at the kinds of services you can run on your new server, from built-in features like printer and file sharing – as well as setting up a single Time Machine backup for you entire network – to recommended third-party services that’ll provide services such as media streaming, VPN and file syncing. We’ll then look at Docker, a tool that allows you to run all kinds of services from your Mac – we’ll even show you how to set up a self-hosted password manager to protect your passwords from hackers and other nefarious agents.
If you thought your old Mac was past its best, think again. Turn the page to give it – and your entire household – a whole new lease of life.

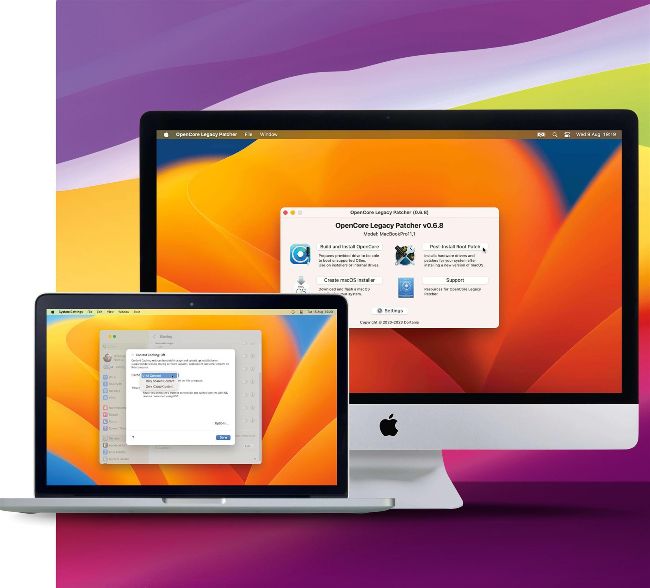
OpenCore Legacy Patcher can install macOS 11, 12 or 13 on unsupported Macs.
Setting up your server
Step one: Wipe your old Mac clean and prep it for its new role irst, you need to prepare
F yourold Mac for its new role. The best Macs for the job are the Mac mini or an old MacBook, as neither consume large amounts of electricity, so can be left running 24/7 for always-on access. Start by powering up your Mac and choose ‘About this Mac’ from the Apple menu to review its current specs. See ‘5 best hardware add-ons’ opposite for upgrades to consider – we recommend 8GB of memory (RAM) and a fast boot drive (either SSD or hybrid), plus an Ethernet port adaptor so your server can connect directly to your Wi-Fi router for maximum performance. Visit ifixit.com to see which upgrade guides are available and whether upgrading the RAM and/or boot drive are realistic options.
When it comes to your macOS install, we recommend wiping the drive clean to start afresh. It’s important to run a version of macOS that’s still covered by Apple’s security updates, which basically means macOS 11 (Big Sur) or later. If your Mac isn’t capable of running this build, or you’d like to future-proof your Mac, visit dortania.github.io/OpenCore-Legacy-Patcher/ for details of OpenCore Legacy Patcher, which can install macOS 11, 12 or 13 on many unsupported Macs. Once you’ve verified your Mac is listed, download the tool and follow the online guide to create your installation drive (16GB or larger flash drive).