3D Typography in Illustrator
YOU’LL NEED THIS
ADOBE ILLUSTRATOR CC 2020
https://www.adobe.com
IF YOU HAVE FOLLOWED ALONG with the first Illustrator tutorial in the previous issue, you should have picked up a few of the basics within the application and, hopefully, can work your way around it. Like we said before, if you are familiar with the Adobe ecosystem and have used other pieces of software other than Illustrator, don’t sweat too much as it should be fairly easy to pick up. These applications work hand in hand with one another and are pretty similar.
One of the main uses for Illustrator is for graphic design, and one huge sector of that department is typography. I hope we haven’t lost you already, trust us, you can create some nice artwork using type, especially with the handy help of Illustrator. One particularly useful exercise is wrapping text around shapes. Using this skill, you can create tons of attention-grabbing text for your design, artwork, advertisement, or whatever you intend to do with it. It’s tips such as these that can set your style apart from the typical flat text that you see everywhere. Hopefully, with this skill in the bag after this tutorial, you can piece it together with another project to give it more fizz. You can’t go wrong with that, right?
– SAM LEWIS
A
© ADOBE
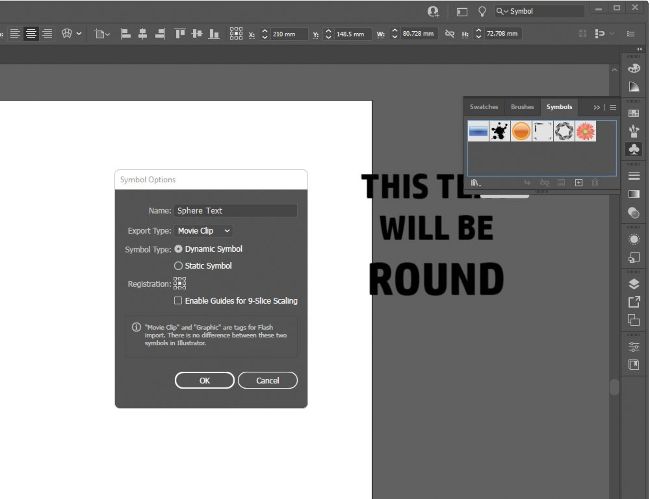
1 SPHERICAL TEXT
To get started with some text wizardry, we need to create a new artboard by opening and creating a new file of your size and color mode. Remember, CMYK is for printing and RGB is for digital files, so pick accordingly. Also, remember to name your file too as it helps to stay organized working on projects. Once all the necessary mundane setup is complete, we need to add some flat text to our work. You can either press the ‘T’ key to open up the type tool or head over to find the type tool icon on the left-hand side. Then you can either click on the artboard or draw out a text box and type what you want. We thought we would be hilariously ironic with this one. Please accept our apology for the awful sarcasm and proceed with the tutorial…