10 WAYS TO…
SHOOT THE PAST
From castles and country houses to medieval bridges, there are many historic features in the landscape to photograph, says Wendy Evans
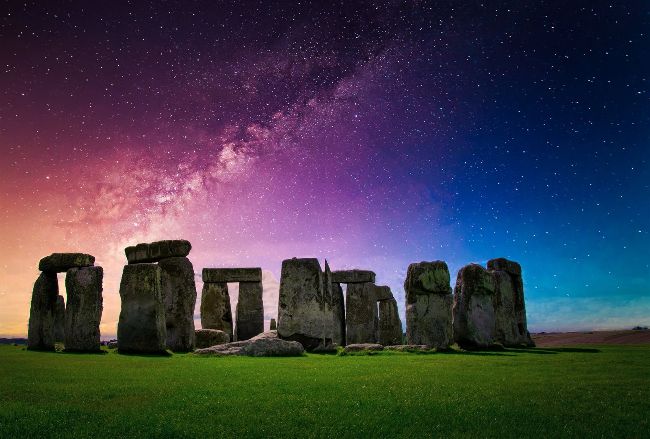
The Milky Way captured over Stonehenge in Wiltshire, England. This UNESCO World Heritage Site dates from the late Neolithic period.
Getty
The advantage of living somewhere that has been occupied since Neolithic times is that history litters the landscape.
It’s everywhere, from standing stones to medieval bridges, Elizabethan country houses to Norman castles… even cathedrals that are over a thousand years old. Wherever you go in the UK, there are many fantastic and fascinating places to explore and photograph.
You can view the architecture on its own merits, or as part of the landscape it was designed to complement. You can also head inside and discover intricate frescoes, stunning ceilings, tombs and relics, all of which pose a different kind of photographic challenge. In this feature, we’ll look at the best way to photograph these elements, which lens apertures are best for each type of location, how to master the challenge of tricky lighting and what metering system will save the day. There will be inspiration to get you outdoors on the hunt for those iconic or off-the-beaten-track locations and advice on the best way to go about shooting them.
As long as you have a wide-angle lens (16-24mm) that will enable you to shoot in most situations, you won’t need a mountain of camera kit. A tripod will be handy and some filters can play their part but the key to capturing photos of historic scenes is lighting and your ability to construct a winning composition.
1/160 sec f/8 ISO 100
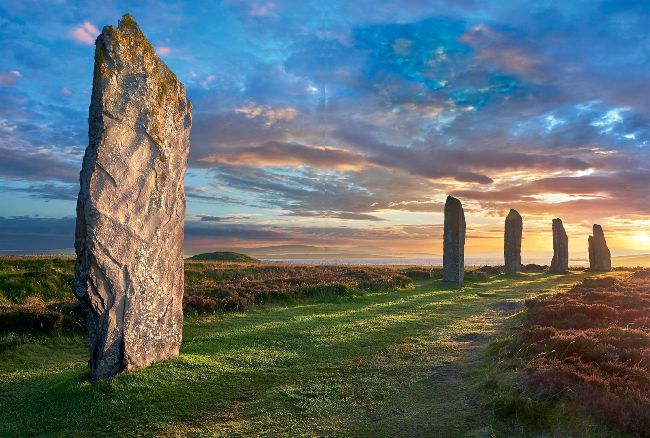
The Ring of Brodgar on Orkney, Scotland, is one of the largest stone circles or ‘henges’ in the British Isles.
Getty
TOP KIT
ND GRADS
A graduated Neutral Density filter lets you reduce the light in a part of the image – usually the sky – so that you get a better-balanced exposure. This is particularly useful at sunrise and sunset.
1 STANDING STONES
Capture a slice of Neolithic history by shooting standing stones and stone circles at either sunrise or sunset
There are two main ways of shooting ancient structures such as stone circles. You could shoot them in the first hour after sunrise or before sunset when the light colour changes and warms up the stones themselves, as well as casting long, dramatic shadows across the scene. The second approach is to position the sunset or sunrise behind the standing stones, and expose for the colour and light in the sky, which will leave the stone circle as a silhouette, although you could take multiple exposures and combine them later for an HDR result.
1 Where is the sun?
It’s all well and good having a vague Compose the image with the stones idea of where the sun will come up and go down, but if you don’t know the location well, getting the shot you want becomes something of a lottery.
Avoid this by using a smartphone app such as Sun Seeker or PhotoPills for an augmented reality visualisation of how the light will fall at your location.
2 Golden-hour shots
facing into the sunlight. If the foreground is grass, it doesn’t have to be sharp, so focus instead on the first stone in the sequence, ensuring that this is sharp. Here, with an aperture of f/8-f/11 and a 35mm focal length, the scene was sharp all the way through to the rear of the frame.
3 Ray of light