HI-FIDELITY KODI
Integrate the world’s most popular streaming site into Kodi and see how the Pi fares at high-resolution
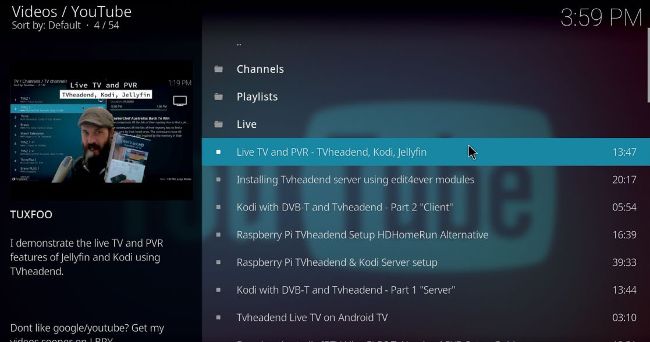
Tuxfoo will tell you all you need to know about using DVB sticks with TVheadend and connecting that to Kodi.
SINCE THE RASPBERRY PI 4 has significantly more graphical horsepower than its predecessors, it’s capable of playing ‘movie’ 4K resolution (i.e. 4096 x 2160 as opposed to ‘TV’ 4K which is 3840 x 2160) and 10-bit (HEVC) content. It might not yet be capable of driving two 4K displays at 60Hz, but it can certainly drive one.
You need to enable that feature by hand, as it will make the SoC run a little warmer than usual. You’ll need to enable SSH access and log in to your Kodi box to do this, remembering that Kodi has only one account, namely root. So the incantation will look like ssh root@192.168.x.x . Remember you can always find Kodi’s IP address from the status panel.
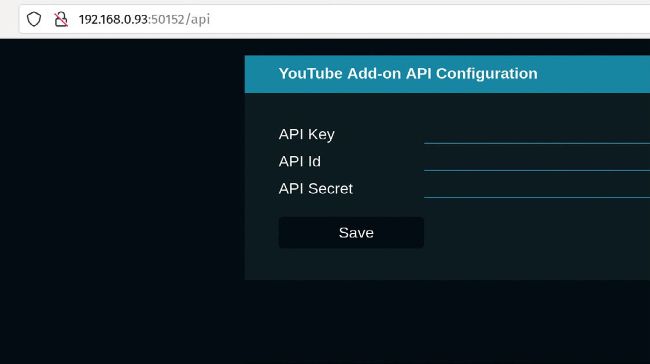
The add-on’s page for entering API keys looks like this.
You can copy and paste the values from Google into here.
© TUXFOO
Once you’re in, you’d usually run raspi-config to enable this, but LibreELEC doesn’t include this program. Instead, you’ll have to remount the /flash partition in read-write mode and edit config.txt manually. This is straightforward:
$ mount -o remount,rw /flash
$ nano config.txt
Now add the line hdmi_enable_4kp60=1 exit Nano, and restart.
If you don’t get any joy, make sure you’re using the HDMI0 port, ie. the one nearest the USB-C port used for power. HDMI1 can only manage 4Kp30 tops. If you have a gaming monitor or another display that supports high refresh rates, then you should check out the official documentation at https://www.raspberrypi.com/ documentation/computers/config_txt.html.