SETTING UP KODI
LibreELEC is probably the easiest Linux distro you’ll have ever installed, and Kodi will be ready for action in no time
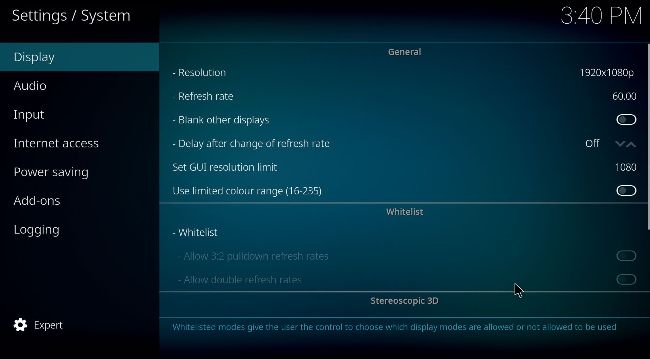
Getting everything going at 1080p should be trivial; higher resolutions may require manual intervention.
© LIBREELEC
MAKING AND BOOTING a LibreELEC SD card follows much the same procedure as any other Pi operating system you would care to name. You just need to ensure you use the correct image. LibreELEC 10 supports the Pi 4, Pi 3, and Pi 2 with the latest version. Download the image from the releases page at https://libreelec.tv/ downloads/raspberry/.
For Pis Zero and 1, use the latest image from the previous 9.2 series, which you’ll find by scrolling down. Or consider one of the ‘other’ boards supported by the new edition, such as the Pine64. There’s also a generic image for running on a regular 64-bit PC or a ready-togo virtual machine image. There’s an official LibreELEC USB-SD Creator app for macOS, Linux, and Windows but it didn’t work that well for us, so we’ll continue to recommend Balena Etcher for this purpose. See the install page on the wiki https://wiki.libreelec.tv/ installation/create-media if you have any problems.
Once you’ve made and booted your SD Card, you’ll be greeted with the LibreElec splash screen followed by the Kodi setup wizard. You’ll probably need a keyboard, mouse or gamepad plugged in to navigate this. But if you have plugged everything into an HDMI receiver with a remote control, then you can use that because Kodi supports the CEC (Consumer Electronic Control) protocol too. Magical! Keen-eyed readers might notice a CEC adaptor being detected during the setup stages.