Lutherie
Bow tip replacement – part one
TRADE SECRETS
A detailed method to remove an old tip and fit a new one, before shaping
BY JENELLE STEELE
Makers reveal their special techniques
Luthier and bow maker based in Portland, OR, US
The tip on a bow has several jobs: to protect the pernambuco head from damage, to reinforce the mortise in the head and to look stylistically cohesive. I recommend replacing tips that are no longer performing their functional duties, especially tips that have cracks or are missing any pieces around the mortise. In this two-part article, I’ll describe my step-by-step process of replacing a tip. This first part describes my process for removing an old tip and fitting and gluing a new one.
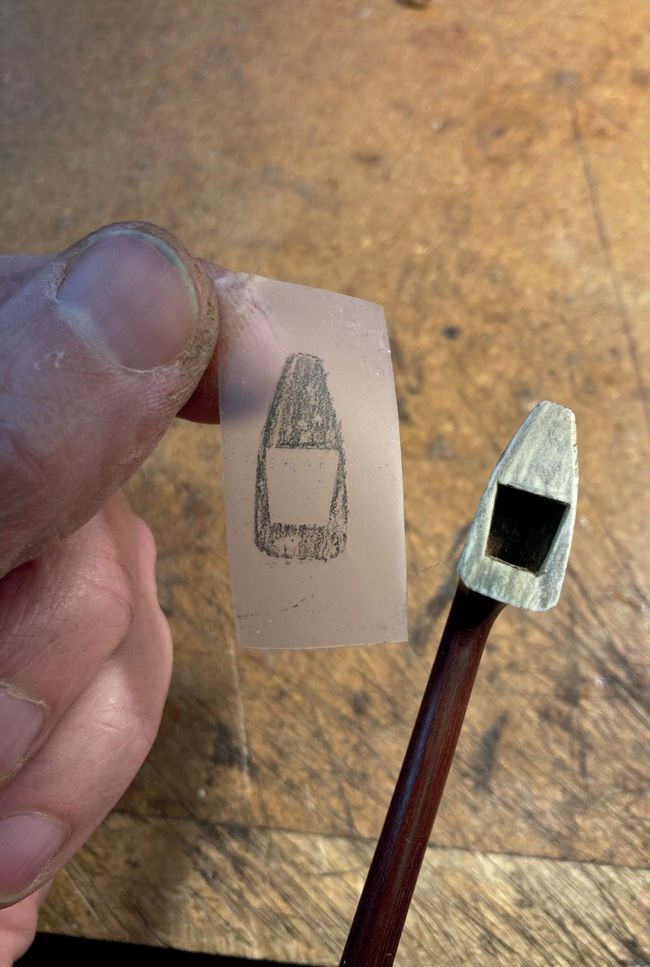
Making a mortise template
1 My standard tip material is Elforyn, which is flexible, easy to carve and looks nice. If there have been any repairs in the head, then I’ll use Tip Shield or Tip Armor for reinforcement. These two products are incredibly durable but take longer to shape. I avoid using mammoth ivory for ethical reasons as well as travel/sales limitations.
I study pictures of bows by the original maker, if possible, or by makers from the same region and time period. I note the thickness of the ebony and ivory on the headplate and beak, the curve and ridge in the beak area, and the mortise shape that I want to copy. If I don’t have much information about the bow, I use the thicknesses in the table below as a starting point. The ebony liner, ivory flat and ivory beak thicknesses get consecutively thicker by 150 per cent.