EXPERT MODELLERS SHOW YOU HOW
TOP TIPS FOR TRACKWORK
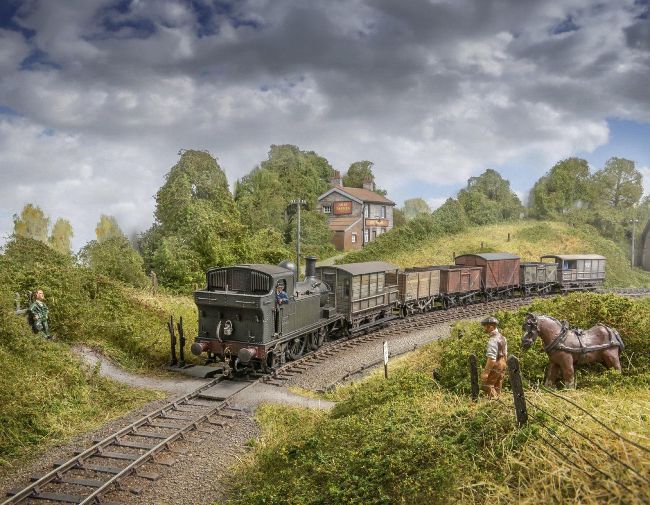
The tracks are one of the most important aspects of a model railway, so ensuring they look realistic is key to success. Chris Nevard and George Dent offer practical advice on applying ballast and giving it a suitably lived-in appearance.
PHOTOGRAPHY: CHRIS NEVARD/GEORGE DENT
Ballasting track tends to polarise opinion among railway modellers. Some say it’s an extremely relaxing process, while others find it a messy chore. There’s also an added layer of stress as, once the tracks are bound in position with glue and scatter material, making any corrections to or repairs can be tricky, to say the least.
That’s why we always recommend thorough testing of a layout’s operation and wiring before committing to ballasting. Ensuring everything is working properly beforehand will save lots of head-scratching (and the odd tantrum) later. Indeed, if any gremlins appear after the ballasting stage, we can be fairly certain that it has something to do with the addition of glue, paint and fine stone chippings, making diagnosis simpler.
So how do we go about ballasting? Like many areas of this hobby, there’s no fixed ‘right’ way of doing it, as long as it doesn’t harm the track and the performance of the trains. As the mantra goes, if it looks right, then it is right.
There are countless sources of ballast materials – or materials that can be adapted to look like ballast – and a host of new glue formulas on the market to make sticking it down that bit easier. Some, like Deluxe Materials Ballast Bond, dry rapidly to form a durable, yet flexible bond and, unlike most PVA formulas, can be easily removed at a later date with hot water and a scraper tool.
We’ve included two different approaches here, with Chris Nevard’s adoption of sand and modelling clay producing some stunning results. In contrast, George Dent offers some more traditional options, using real stone chippings.