Art beyond the canvas
Tam Hanna takes a look at running the Stable Diffusion image generator on your local Linux systems.
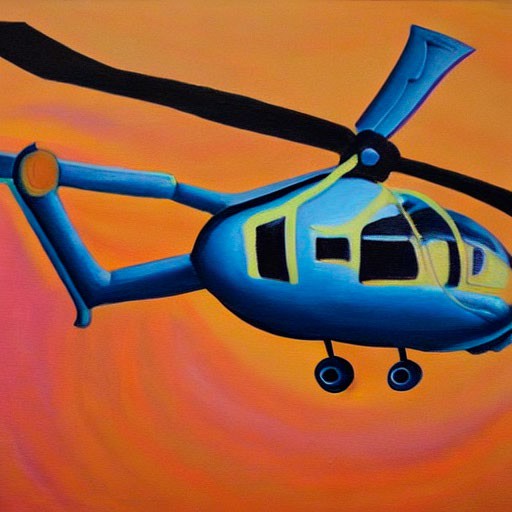
Painting of a helicopter
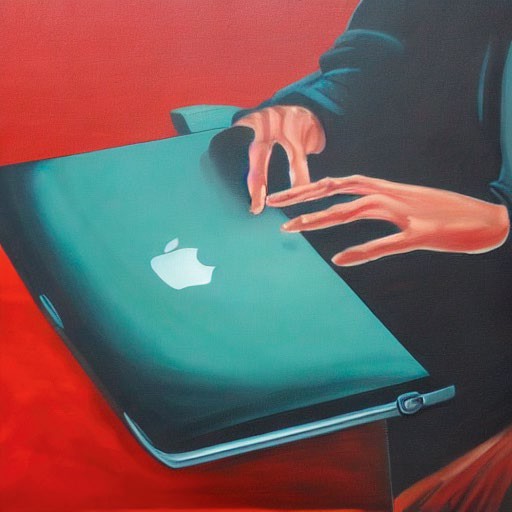
Painting of a laptop

Painting of a man in a suit
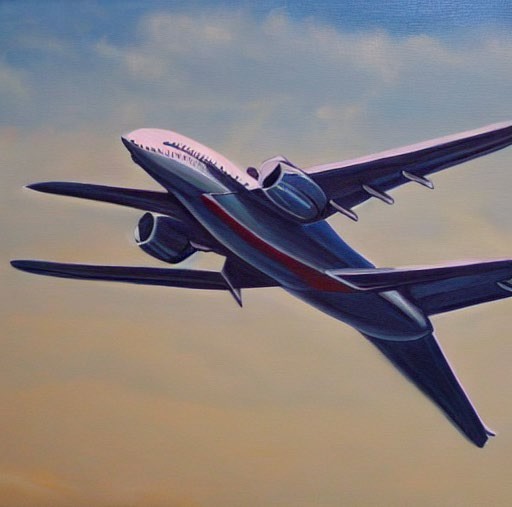
Painting of a jet airplane

Painting of a river and snowy mountains
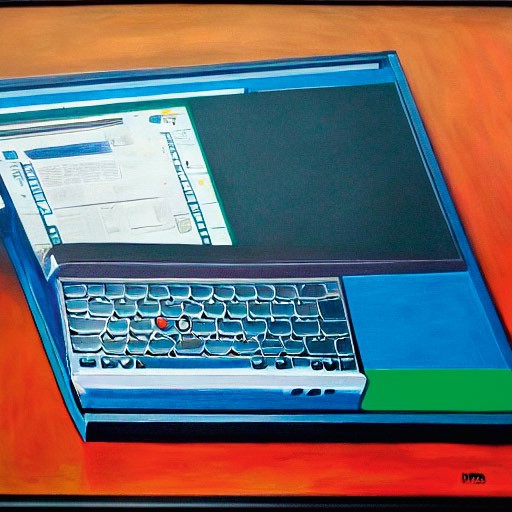
Painting of a Thinkpad
Ccredit: Tam Hanna, Stable Diffusion
Few products have managed to cause a media frenzy as intense as the one caused by Stable Diffusion. Depending on the background of the journalist, it will either lead to political Armageddon or to the downfall of the liberal arts scene.
Yours truly has worked as a photographer and does not consider the images produced by Stable Diffusion ready for prime time. Good examples for problems are hands and feet, or images containing text. Nevertheless, it has its uses. Landscape ‘shots’, for example, tend to turn out well. Due to the extreme computational demands, running Stable Diffusion locally is not for the faint of heart. It is for good reason that Microsoft has embraced it and uses the vast compute powers of its Azure cloud to make image generation more palatable. Of course, the service – only in preview currently, due to ethical concerns – will come at a significant, and as yet not fully disclosed, monetary cost.
Be that as it may, the following steps show a way to get Stable Diffusion running on a moderately equipped mobile workstation. It can then generate around five images in two minutes, which is a decent speed for home use. When set up, you can replicate the media frenzy from your sofa. Alternatively, it can generate wallpapers, avatars or other scenery that is usually bought from stock image agencies.
First things first: like many other AI algorithms, Stable Diffusion uses the Nvidia CUDA interface. Hardware acceleration can only be used on a workstation equipped with Nvidia graphics – if you have AMD or Intel, don’t bother, as CPU-based number-crunching does not yield satisfactory results.
Another God-given aspect of Stable Diffusion is the use of Python. The following steps take place on an Nvidia RTX 2060 GPU, which has 6GB of VRAM. The host operating system is Ubuntu 22.04 LTS. Its embedded Python version identifies itself as per following: $ python3 Python 3.10.6 (main,Nov 14 2022,16:10:14) [GCC 11.3.0] on linux
The first step involves opening the Start menu and checking the driver settings. The use of the proprietary drivers is mandatory. We selected the option Using Nvidia Driver Metapackage From Nvidia-Driver-525 (Proprietary) in the Additional Drivers applet. Installing a dedicated CUDA build as per below will likely change the settings shown in the Additional Drivers applet – do not touch them afterwards.
VRAM, VVVVVRAM!
Graphics card local memory provides the lowest latency for shader programs. Given that most machinelearning algorithms are developed to run on server farms with hundreds of Tesla accelerators, Stable Diffusion’s demand of more than eight or so gigabytes of video RAM is relatively moderate in comparison.