GIMP
How to make better cut-outs in GIMP
We often have photos where certain elements have to be “isolated” from the background. Use GIMP and Karsten Günther for this task!
OUR EXPERT
Karsten Günther is a long-time LaTeX, Linux and GIMP user, and has written a number of books on these topics.
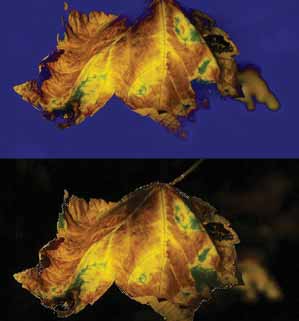
The isolated parts of an image contained on a separate layer can usually be used either in the same image, or another image as additional elements. They can also emphasise certain parts of the image. Every form of collage, for example, is based on this technique. We’re going to look at a number of common methods that GIMP and the G’MIC plug-in offer for isolating image elements, often known as cutouts. In principle, the task is quite simple. The desired parts of the image – the motif or the “foreground” – are marked with a selection and then either copied and pasted as a new layer. Alternatively, the selection is inverted and the rest is removed from this layer. Creating a clean selection isn’t usually straightforward, which is why several selection tools and various methods of combining selections should be explored. The first approach the user will probably try is to make use of just one of GIMP or G’MIC’s selection tools. The result will differ greatly, depending on the subject to be extracted and its surroundings. The “magnetic scissors” tool is tricky to master, but foreground selection, for example, often delivers the goods.
QUICK TIP
Don’t change the preset threshold of the colour selection directly with the slider. Instead, use the interactive options, which change when you hold down the left mouse button. Move the mouse to the right and the threshold becomes larger; move it to the left and it becomes smaller.
In many cases, a multi-stage procedure makes sense. Starting with the rectangle selection tool means you create a “pre-selection” that contains everything that’s needed while keeping the image size to a minimum. Smaller image sizes help to reduce your computing load, and processing time. Select the desired area and then paste it into the target image. Now you can convert it into a regular layer on which you’ll now continue to work.
Which selection tool you use next to create the final selection essentially depends on the image and the motif to be extracted. The colour selection, the foreground selection and the free selection tools work well. Selections don’t have to be created in one go, nor with just one tool. It’s often much better to combine several selection tools. You can add to an existing selection while holding down Shift, and then remove parts of an existing selection by creating the new selection while holding down Ctrl.
The foreground selection tool is already quite good, but not perfect. Several minor adjustments are almost always necessary at the edges.