macOS Tahoe superguide
macOS 26 brings us a new interface, increased design parity, and more
Written by Ian Osborne
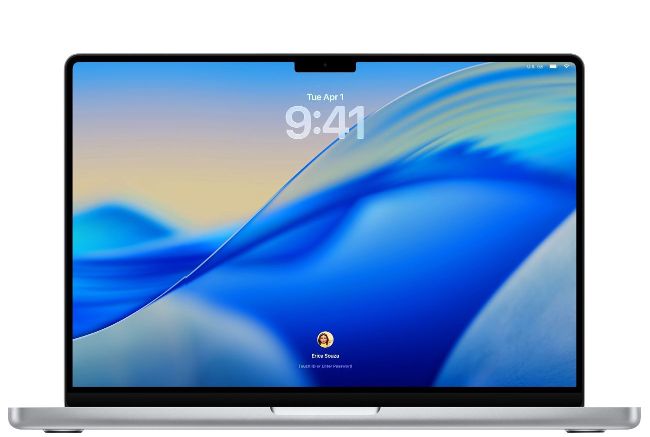
Image credit: Apple Inc
There was much
anticipation when the next version of macOS was announced at WWDC25. What would it be called? What new features would it bring? Where would it take Apple Intelligence? Thankfully, it didn’t disappoint. In a widely anticipated move, the old numbering system was abandoned. While the previous version was macOS 15, the new one is macOS 26, reflecting the year in which it is current. This is true across Apple’s hardware, so instead of iOS and iPadOS 19, visionOS 3, watchOS 12 and tvOS 19, all of this year’s operating systems are suffixed with ’26’.
Though the numbering system has been revised, macOS’ naming conventions remain the same. Once again, the latest version of the Mac operating system refers to a California landmark. Tahoe (pronounced ’Ta-hoe’) is a lake on the California-Nevada border. According to Apple’s Craig Federighi, it’s “where crystal clear waters meet majestic mountain peaks”. It’s beautiful.
And macOS Tahoe is also easy on the eyes. Like the other Apple operating systems released this year, it benefits from a brand new Liquid Glass interface. This translucent new material reflects and refracts its surroundings. The menu bar is completely transparent, making your screen seem larger, and the Dock, sidebars and toolbars have all been polished and refined with Liquid Glass. Not only is this a great look for your Mac, but it also unifies the look and feel of all Apple’s new operating systems. There’s never been a better time to be an Apple fan!
macOS Tahoe works with…
✔ MacBook Air with Apple silicon (2020 and later)
✔ MacBook Pro with Apple silicon (2020 and later)
✔ MacBook Pro (16-inch, 2019)
✔ MacBook Pro (13-inch, 2020, Four Thunderbolt 3 ports)
✔ iMac (2020 and later) ✔ Mac mini (2020 and later) ✔ Mac Studio (2022 and later) ✔ Mac Pro (2019 and later)
!
Apple has stated that Tahoe is the last major macOS update with support for Intel Macs.
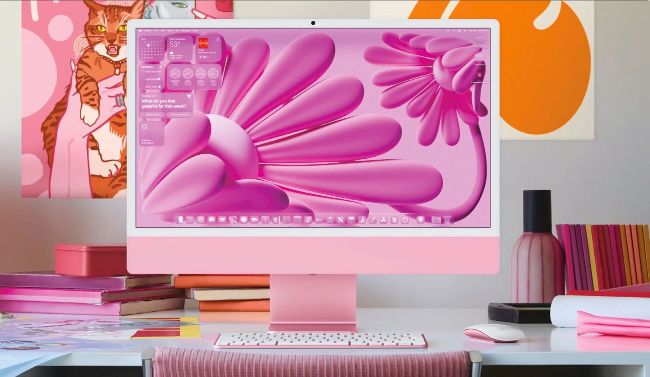
With a custom desktop wallpaper, coloured folders and the new Liquid Glass interface, you can really make your Mac stand out.
Personalise your Mac
New ways for your Mac to match your style
Tahoe brings new ways to customise your Mac. Finally, a feature that’s previously only been made possible by third-party apps – and long overdue as part of macOS – is the ability to change the colour of your folders, and also badge them with an icon or emoji. There are eight colours to choose from, including the traditional blue design. Keeping different jobs in different-coloured folders is great for projects.
Another way to personalise your desktop is to change the style in which the icons and desktop widgets are presented. In Settings, click Appearance and look for Icon & Widget Style. Here you can change the default look to Dark, Clear or Tinted. As tinted icons are themed to match your wallpaper, it’s a great way of making your Dock look a part of the desktop.
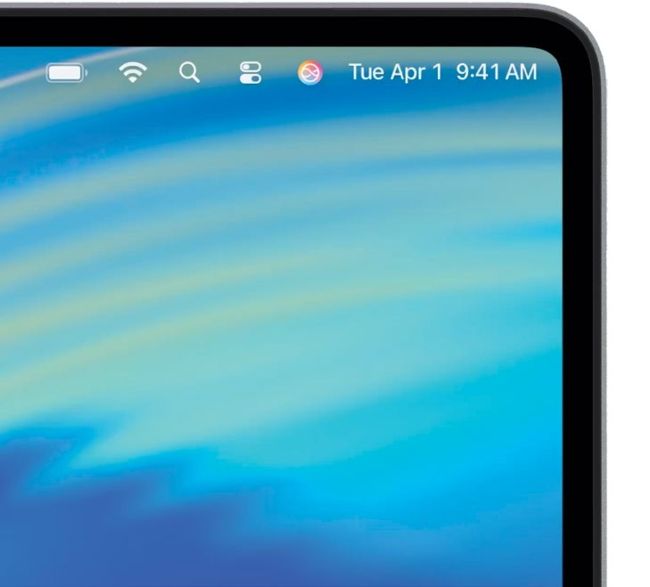
By default, the menu bar is now completely clear, which makes your desktop space seem bigger.
Image credit: Apple Inc
You can also customise the Control Centre to a far greater degree than before. Open the Control Centre using the two-switches icon in the menu bar, and click Edit Controls at the bottom. You can then remove default controls and add more from a picker window that appears; your favourite controls can be added to the menu bar too, for even easier access.
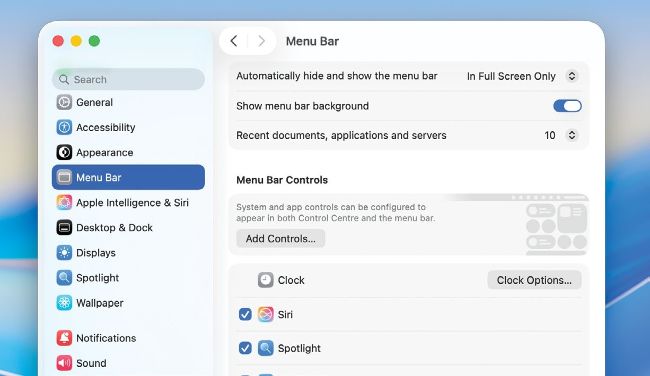
If you don’t like the clear menu bar favoured by macOS Tahoe, you can make it solid again in System Settings.
The menu bar
By default, the menu bar is completely clear in macOS Tahoe, but if you dislike it this way, you can change it back to how it was before. Open the Settings app, and click Menu Bar in the sidebar. As well as all the other options to customise the menu bar, there’s also a switch labelled ‘Show menu bar background’. Turn this on and the menu bar is solidly visible again. Of course, if you’d prefer not to see the menu bar until you need it, click on ‘Automatically hide and show the menu bar’ to choose from a range of options.
HOW TO
Personalise your folders
1
See what’s possible
When you’ve updated your Mac to macOS Tahoe, you can change the colour of your folders on an individual or system-wide basis, and even badge them with icons or emoji. These customisation options will probably expand over time.
2
Change the default
To change the default colour of your folders, open System Settings and select Appearance from the sidebar. Under Folder colour, you’ll see a pull-down menu that lets you change the regular folder colour.
3
Choose a colour
In this pull-down menu, the bottom option is Choose Colour. If you select this option, you can create your own folder colour using sliders, select one from your desktop with the picker or choose a Theme Colour.