HOW TO... Replace Microsoft Lens before it disappears
By Nik Rawlinson
What you need: Microsoft Lens and OneDrive, or Adobe Scan
Time required: Two hours
Microsoft Lens has long been one of our favourite apps for capturing documents using our phone. But its days are numbered. On 9 March, Microsoft will remove the ability to scan pages and will only allow you to view any documents you previously scanned. If you’ve already uninstalled it from your phone, you won’t be able to re-install it after 9 February, so you’ll lose even that viewing ability. You can read more details in Microsoft’s support document at www.snipca.com/57732.
Therefore, if you currently use Microsoft Lens, you need to start looking for an alternative. That’s something we can help you with. Microsoft would prefer you to move to OneDrive, as you’ll know if you’ve started Lens recently and seen the message that appears (see screenshot right).
However, OneDrive is just one option. So, we’ll look at both that and an alternative. We’ll also explain how you can import your existing scans into whichever option you go for.
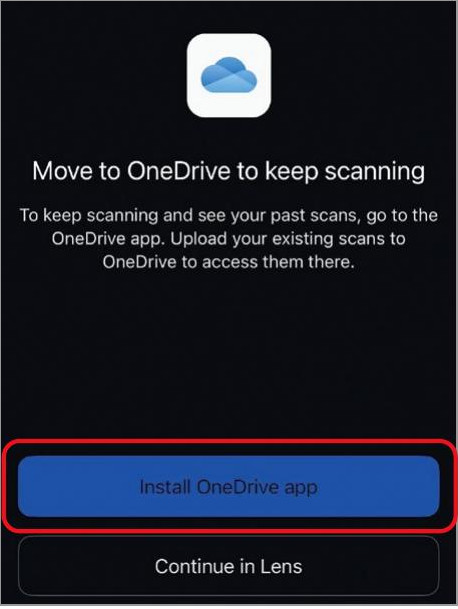
When you launch Microsoft Lens it encourages you to switch to OneDrive
1 Export your Microsoft Lens content
But first, here’s how to export scans you currently have inside Microsoft Lens so you can delete the app from your device without losing them. Open the Lens app and, when you see the OneDrive message (above right) pop up, tap ‘Continue in Lens’. You may also see an alert requesting that you grant it access to your camera. Allow this.
Every time you open Lens, it assumes you want to capture a new document. However, you don’t want to add to your existing library – your job is to empty it. So, tap the top-left home icon in the scanning window to switch to a view of your existing documents.